Connecting to MongoDB Server
In this section, we are going to cover how to use MongoDB Server in Selfmade Ninja Labs.
What is MongoDB?
MongoDB is an open-source, NoSQL database management system that stores data in flexible, JSON-like documents. Unlike traditional relational databases that use tables and rows, MongoDB employs a document-oriented data model, offering a dynamic schema that allows for greater flexibility in data structure.
MongoDB's document-based approach makes it ideal for applications with evolving data structures and complex, nested data relationships.
Getting Started
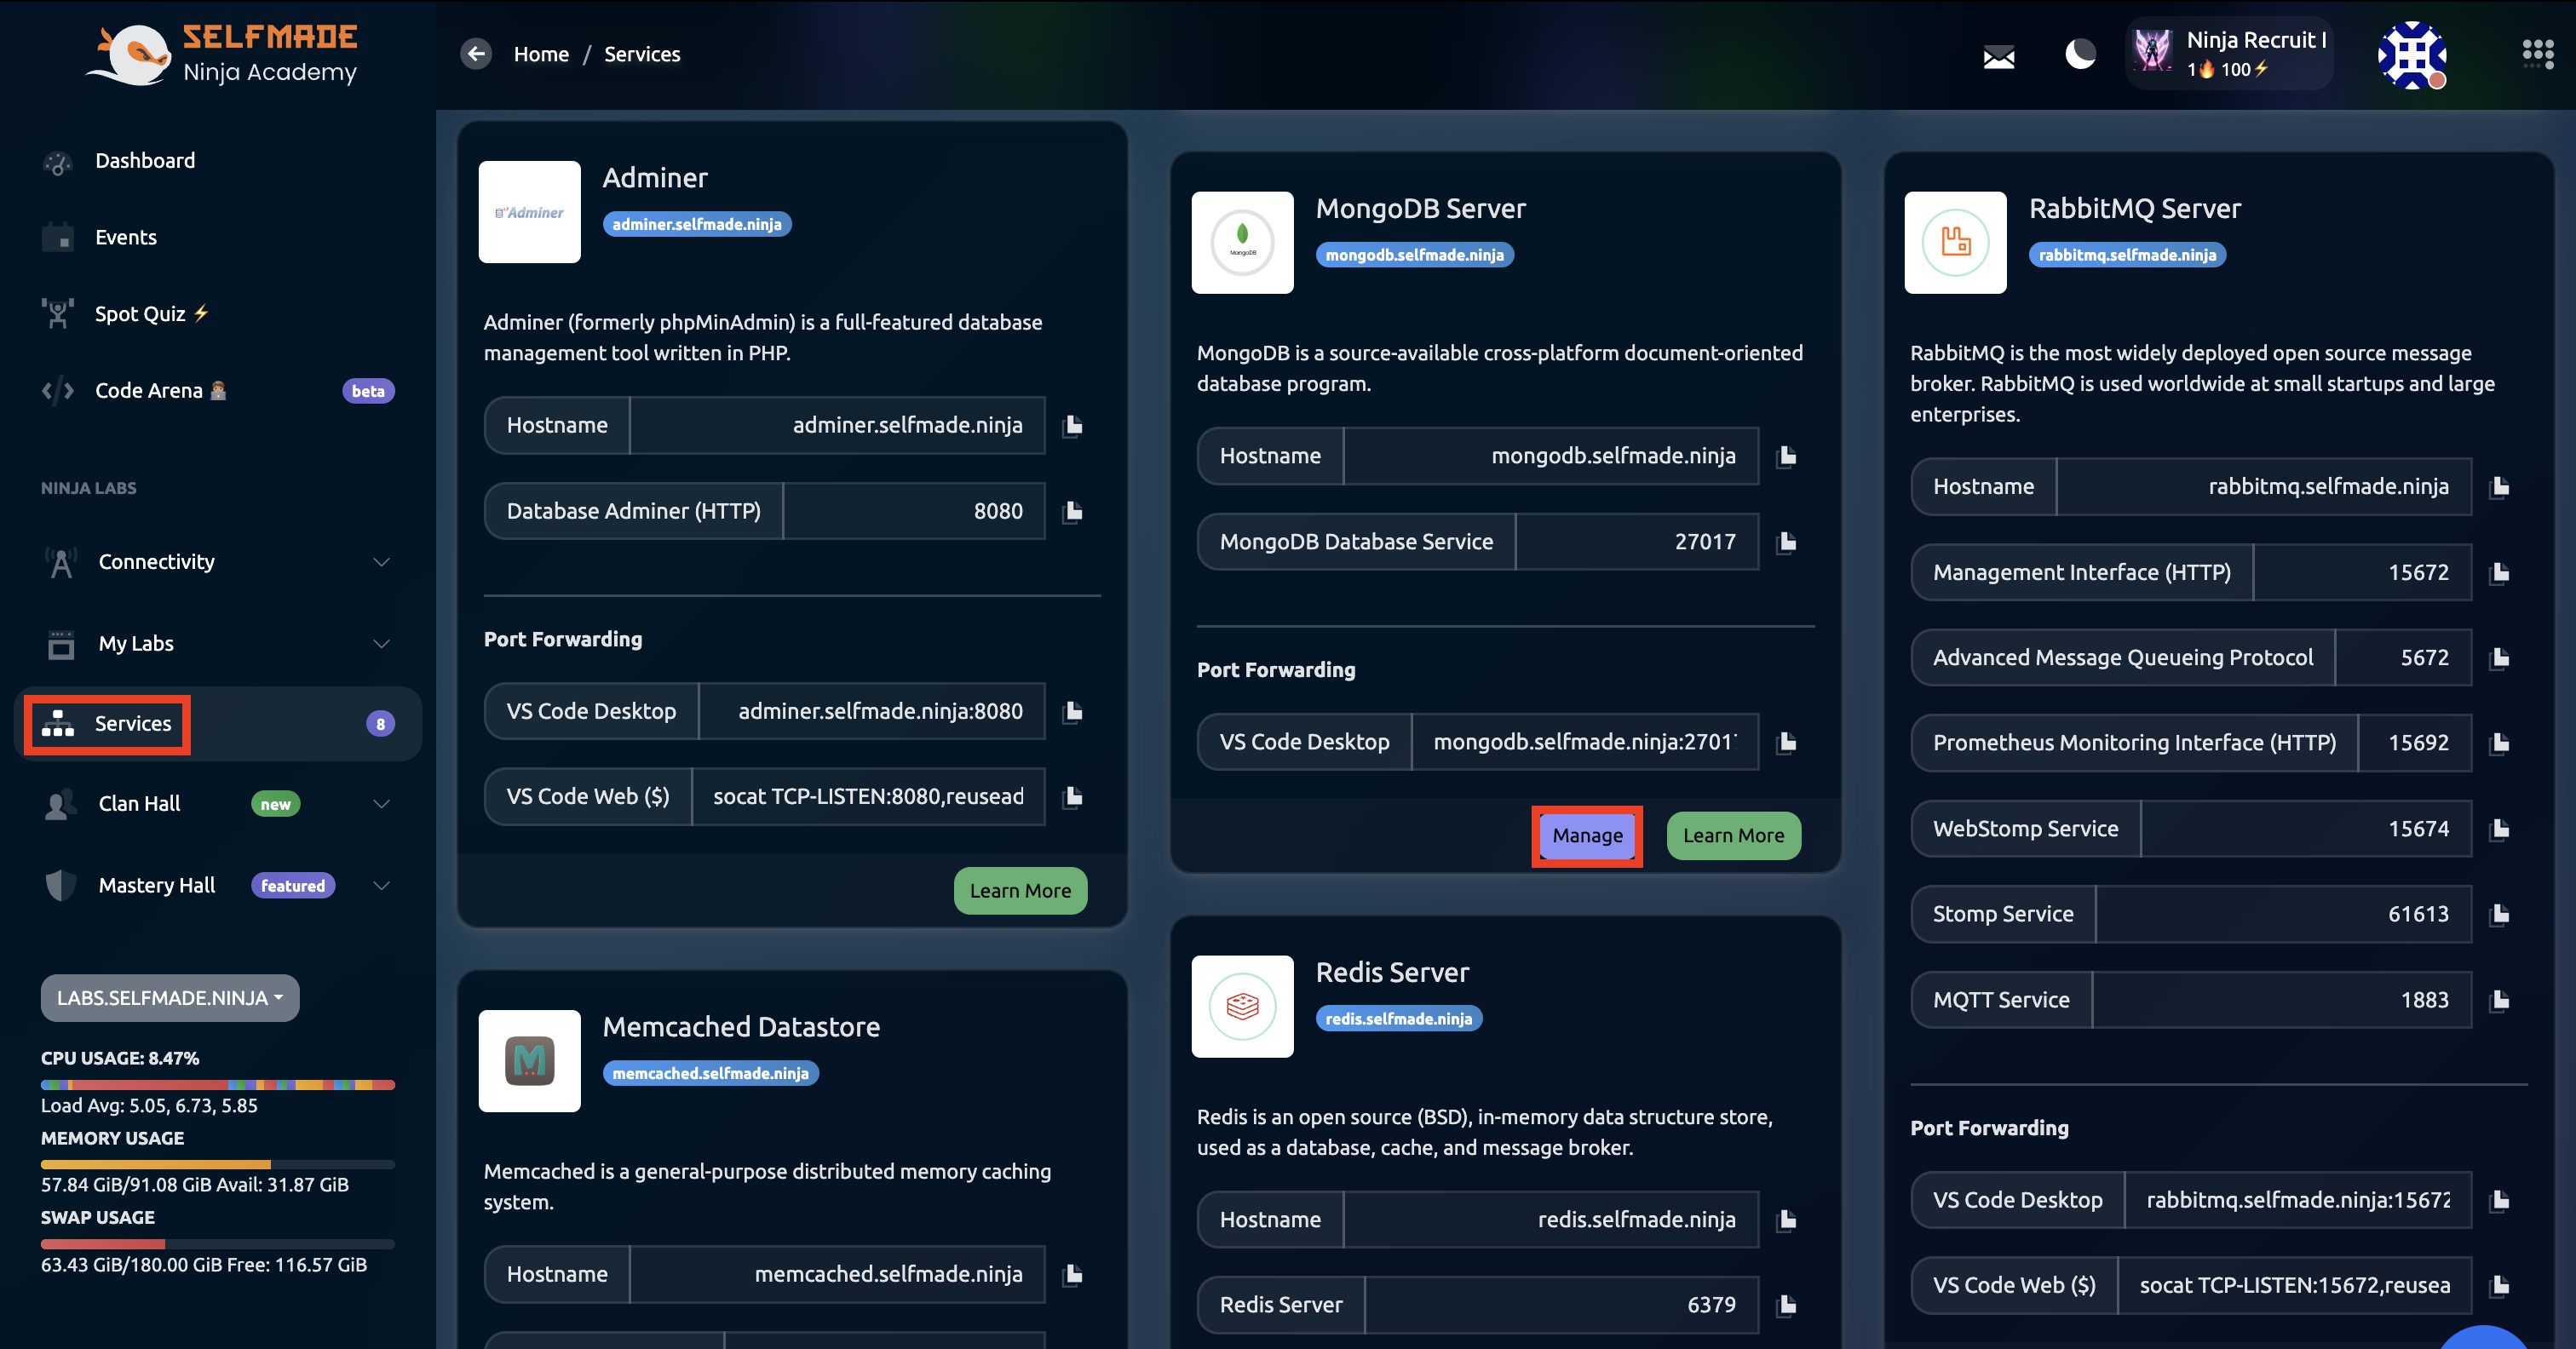
Step 1: Access MongoDB Service
First, click on the Services tab in the left window pane. Once you find the service, click on Manage.
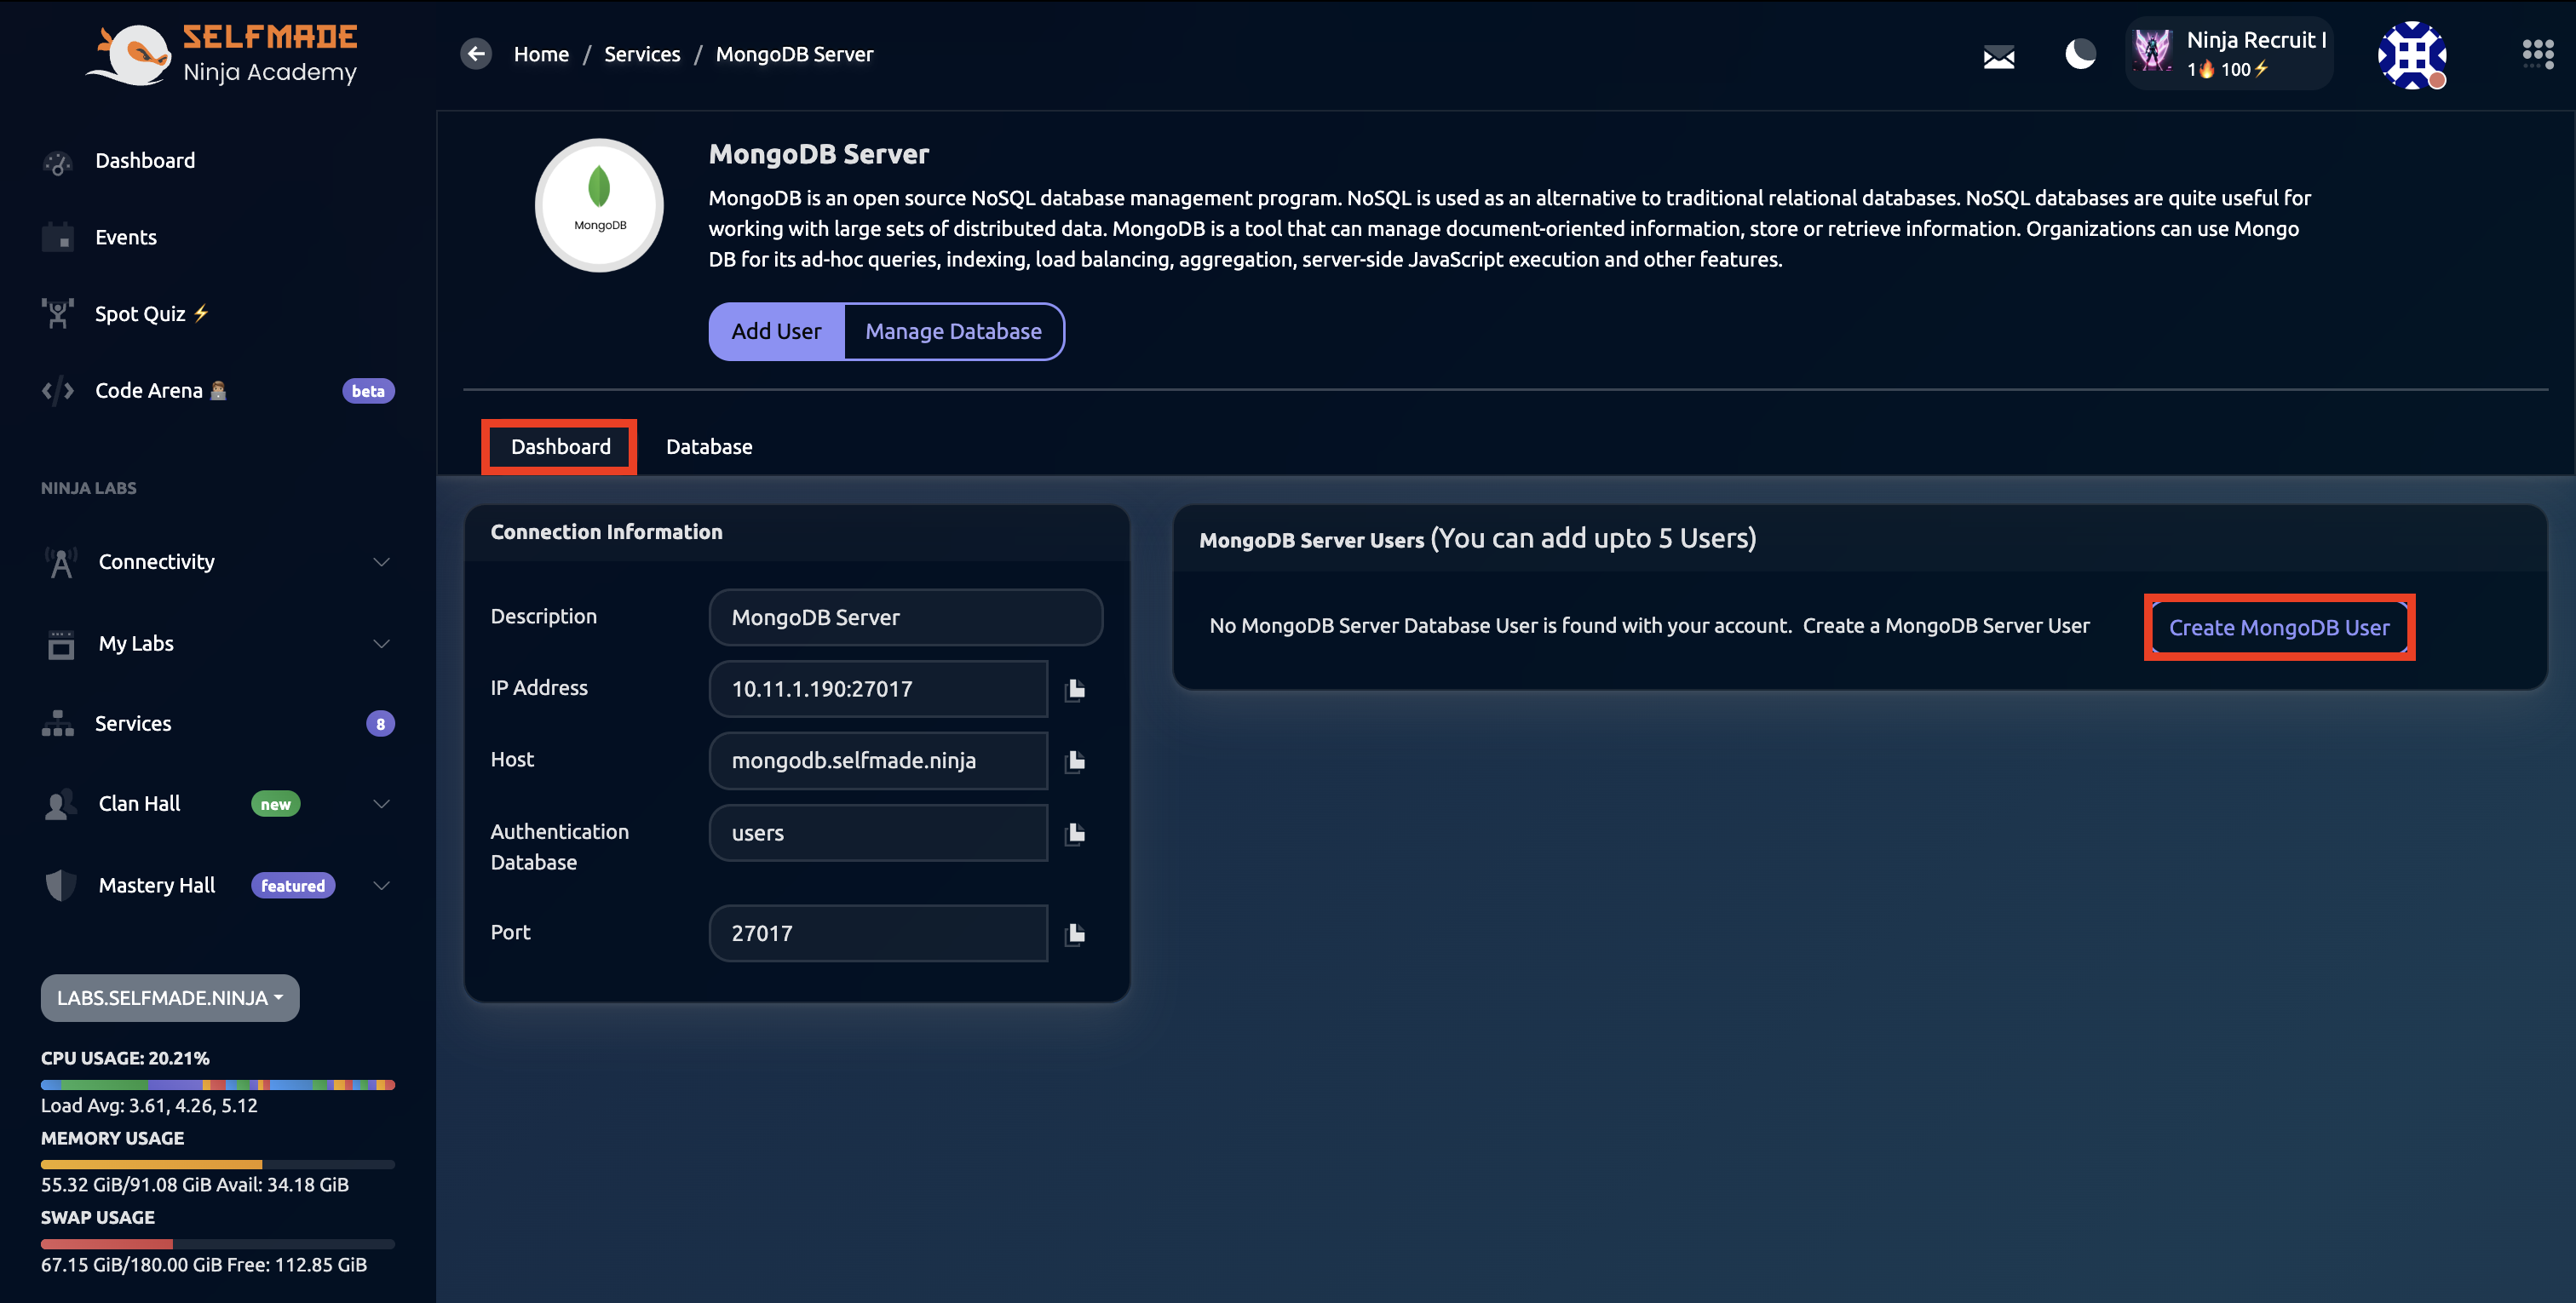
Step 2: Create MongoDB User
In order for us to work with MongoDB, we need to create a MongoDB User and a Database. Let's get started with that. Click on Manage, then click on Create MongoDB User and enter the details and hit Add User.
Step 3: Create Database
Once you create the User, click on the Database button next to dashboard and then enter a name for the database and then click on Create Database.
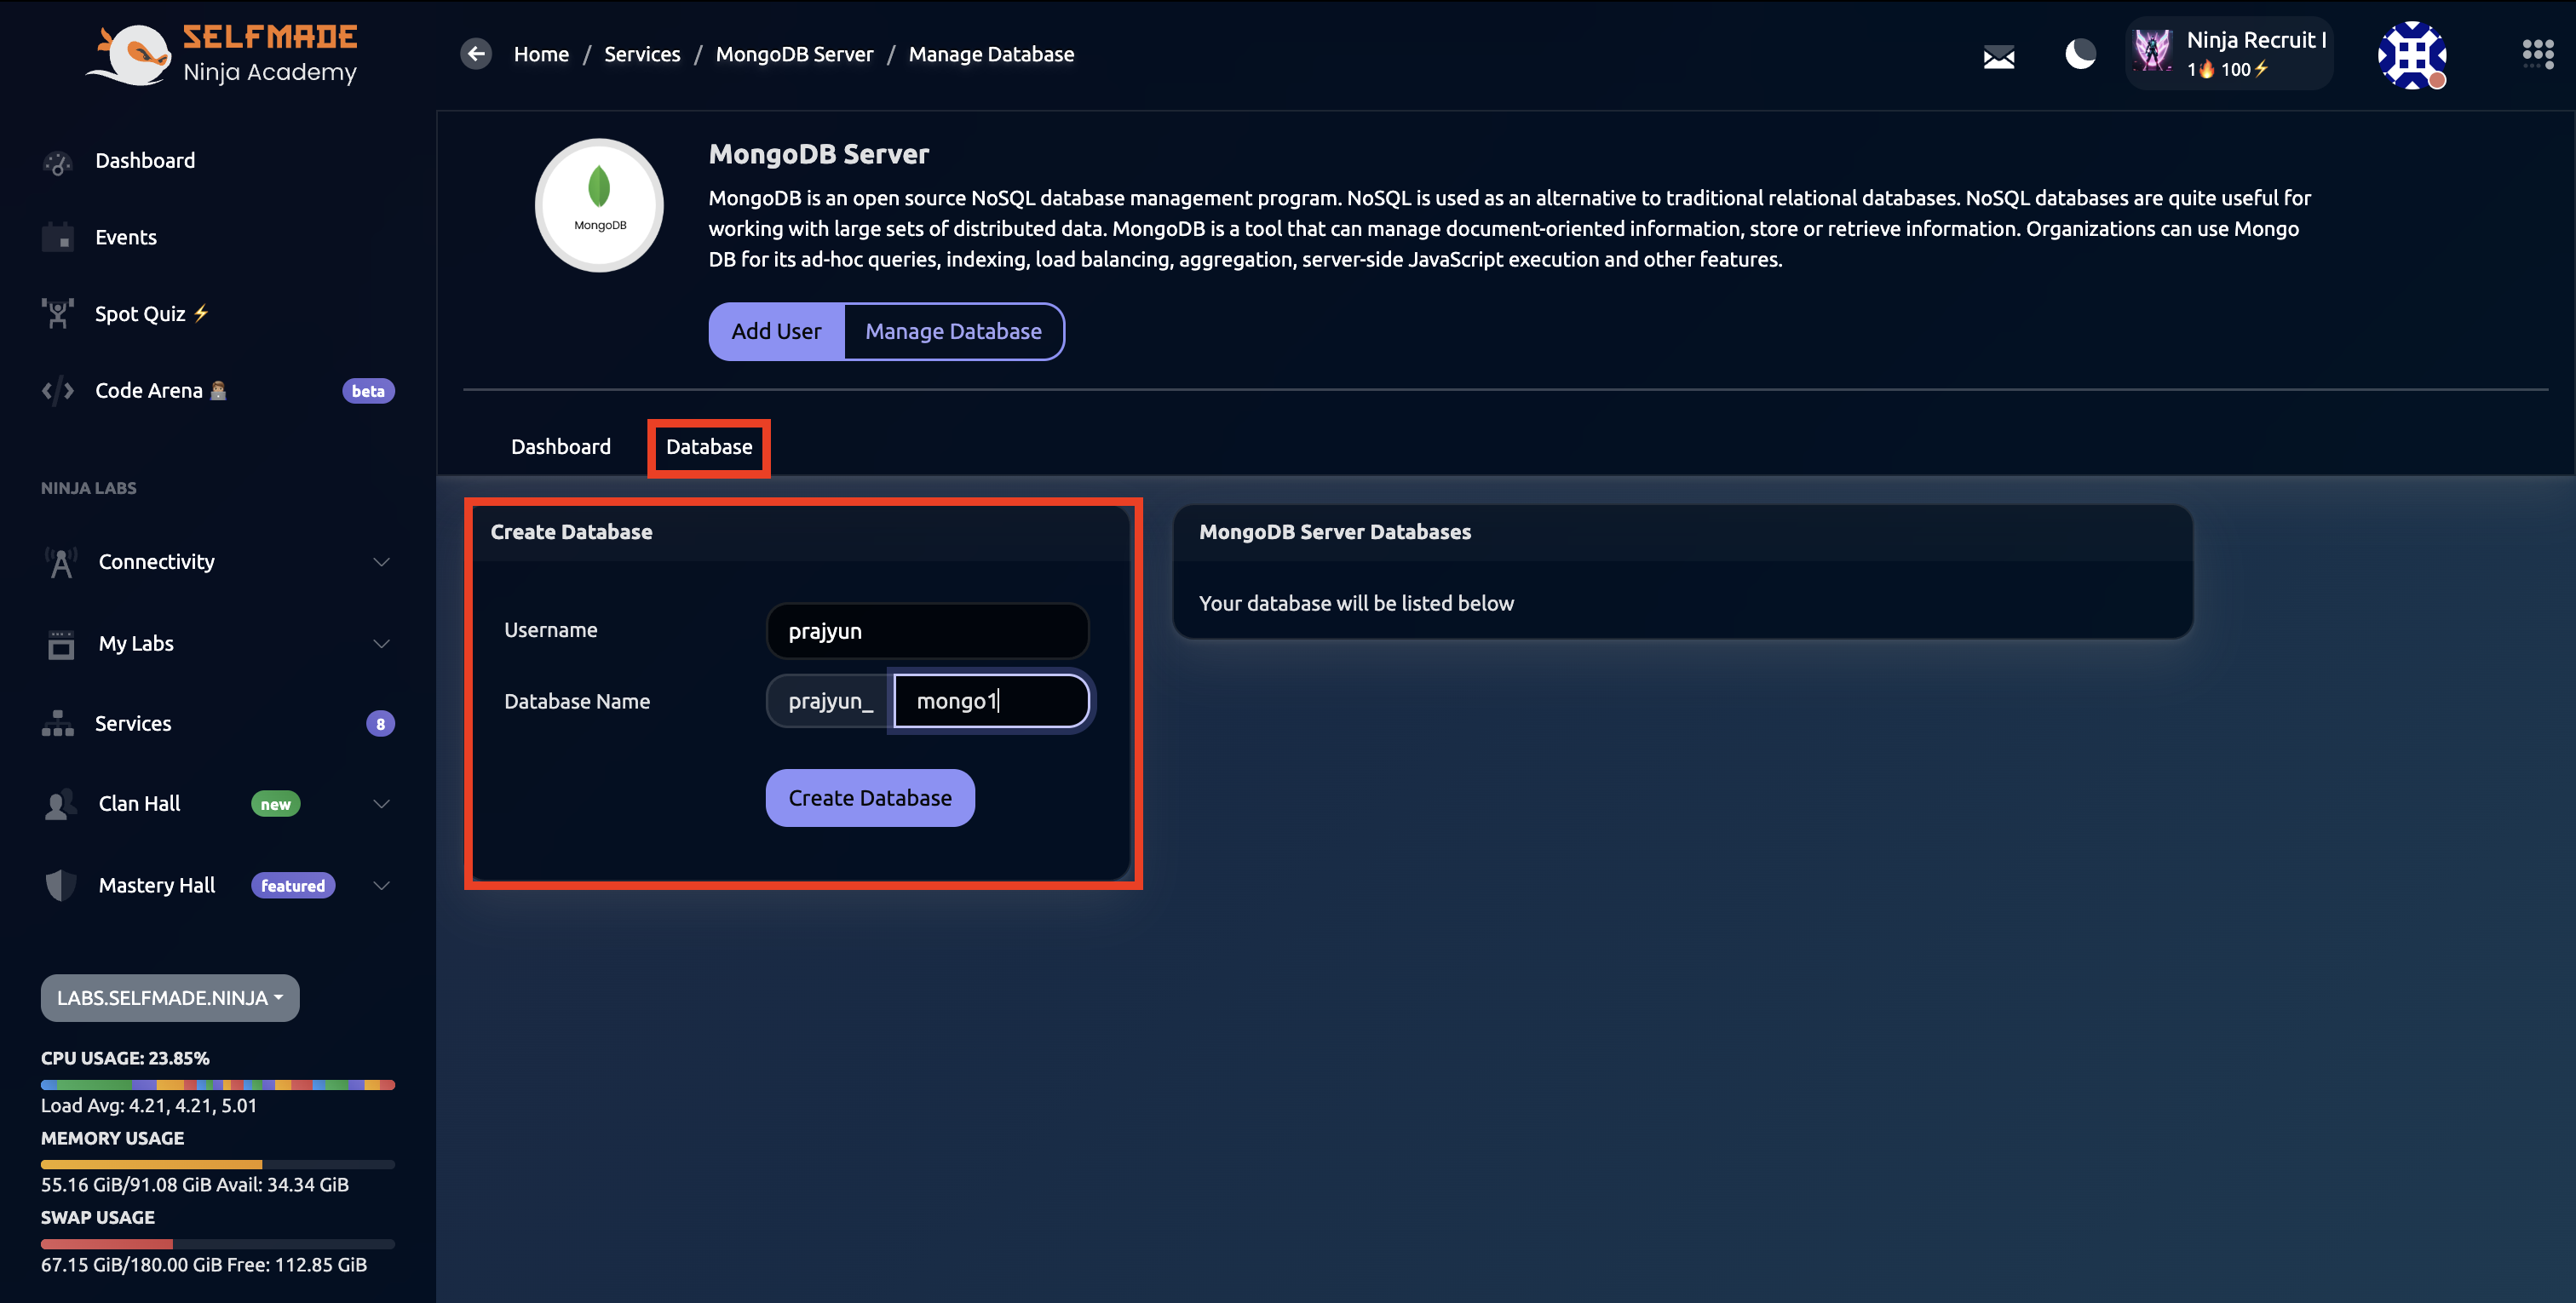
Creating both a user and database is essential for secure access and organized data management in MongoDB.
Getting Connection String
Retrieve Connection Details
Now, in order for us to access MongoDB in Labs, we need the connection string of the current MongoDB instance. To get this, go back to the dashboard, click on the 3-dotted button under MongoDB Users and then click on Show Connection String

Copy the connection string.
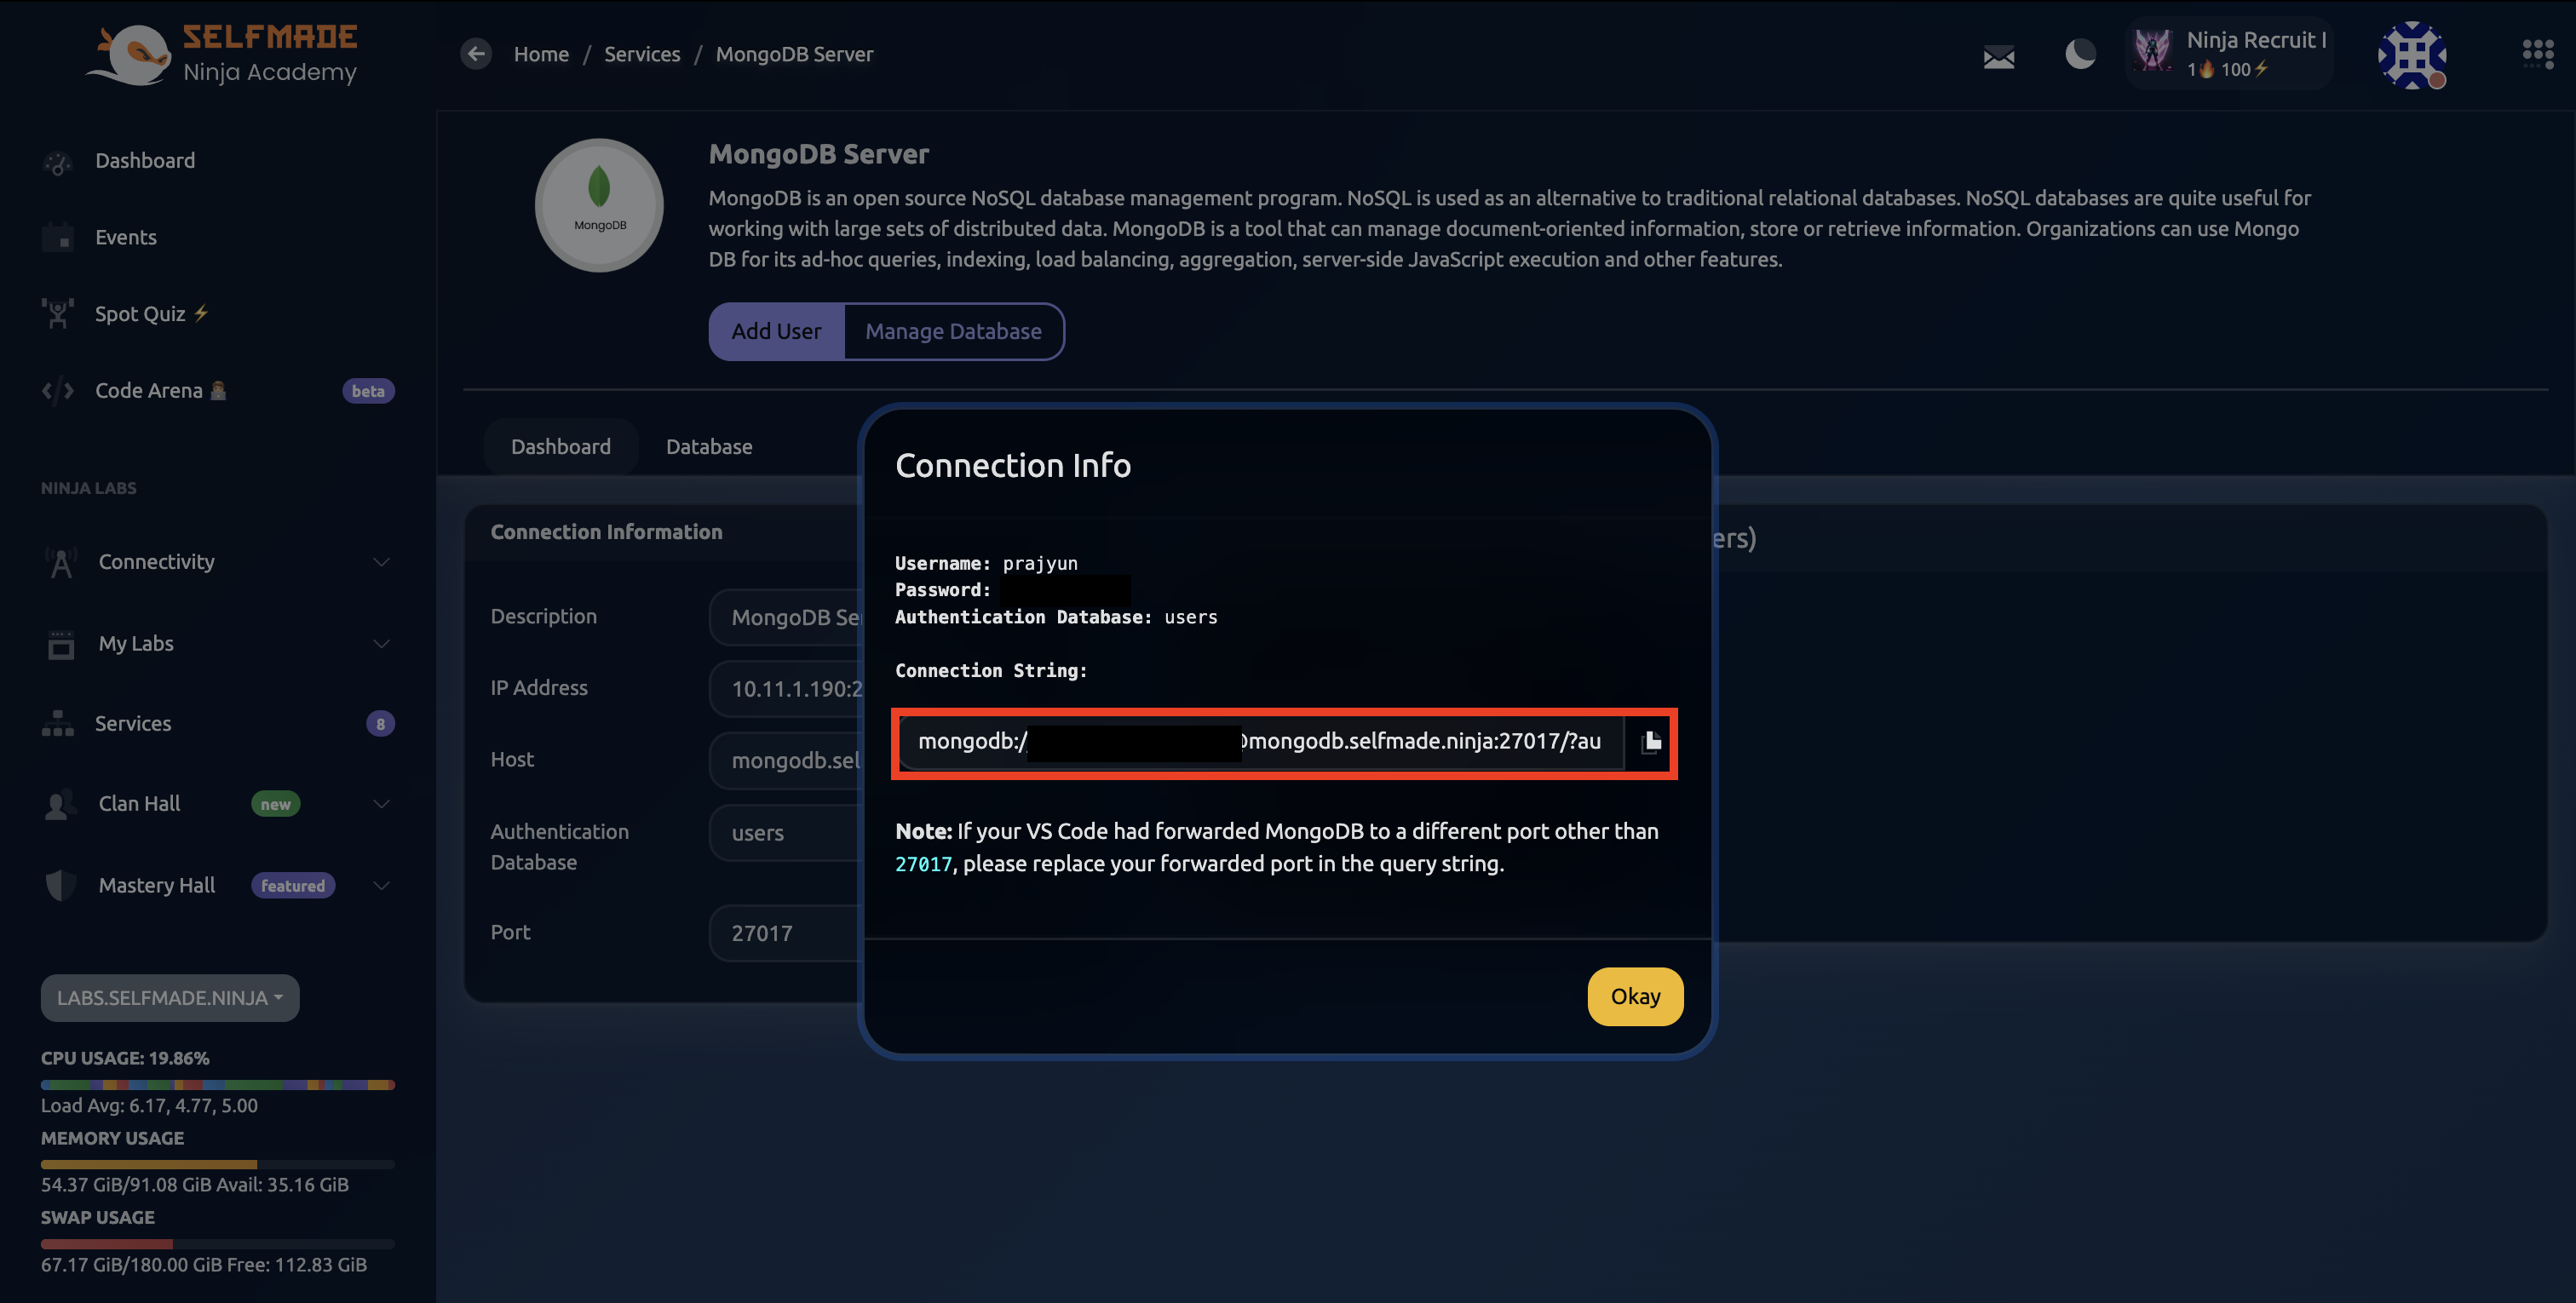
Keep your connection string secure as it contains authentication credentials for your MongoDB instance.
Lab Environment Setup
Deploy Essential Lab
Now, from the main Left window pane and then click on Machine Labs and then click Dashboard on the Essentials Lab.
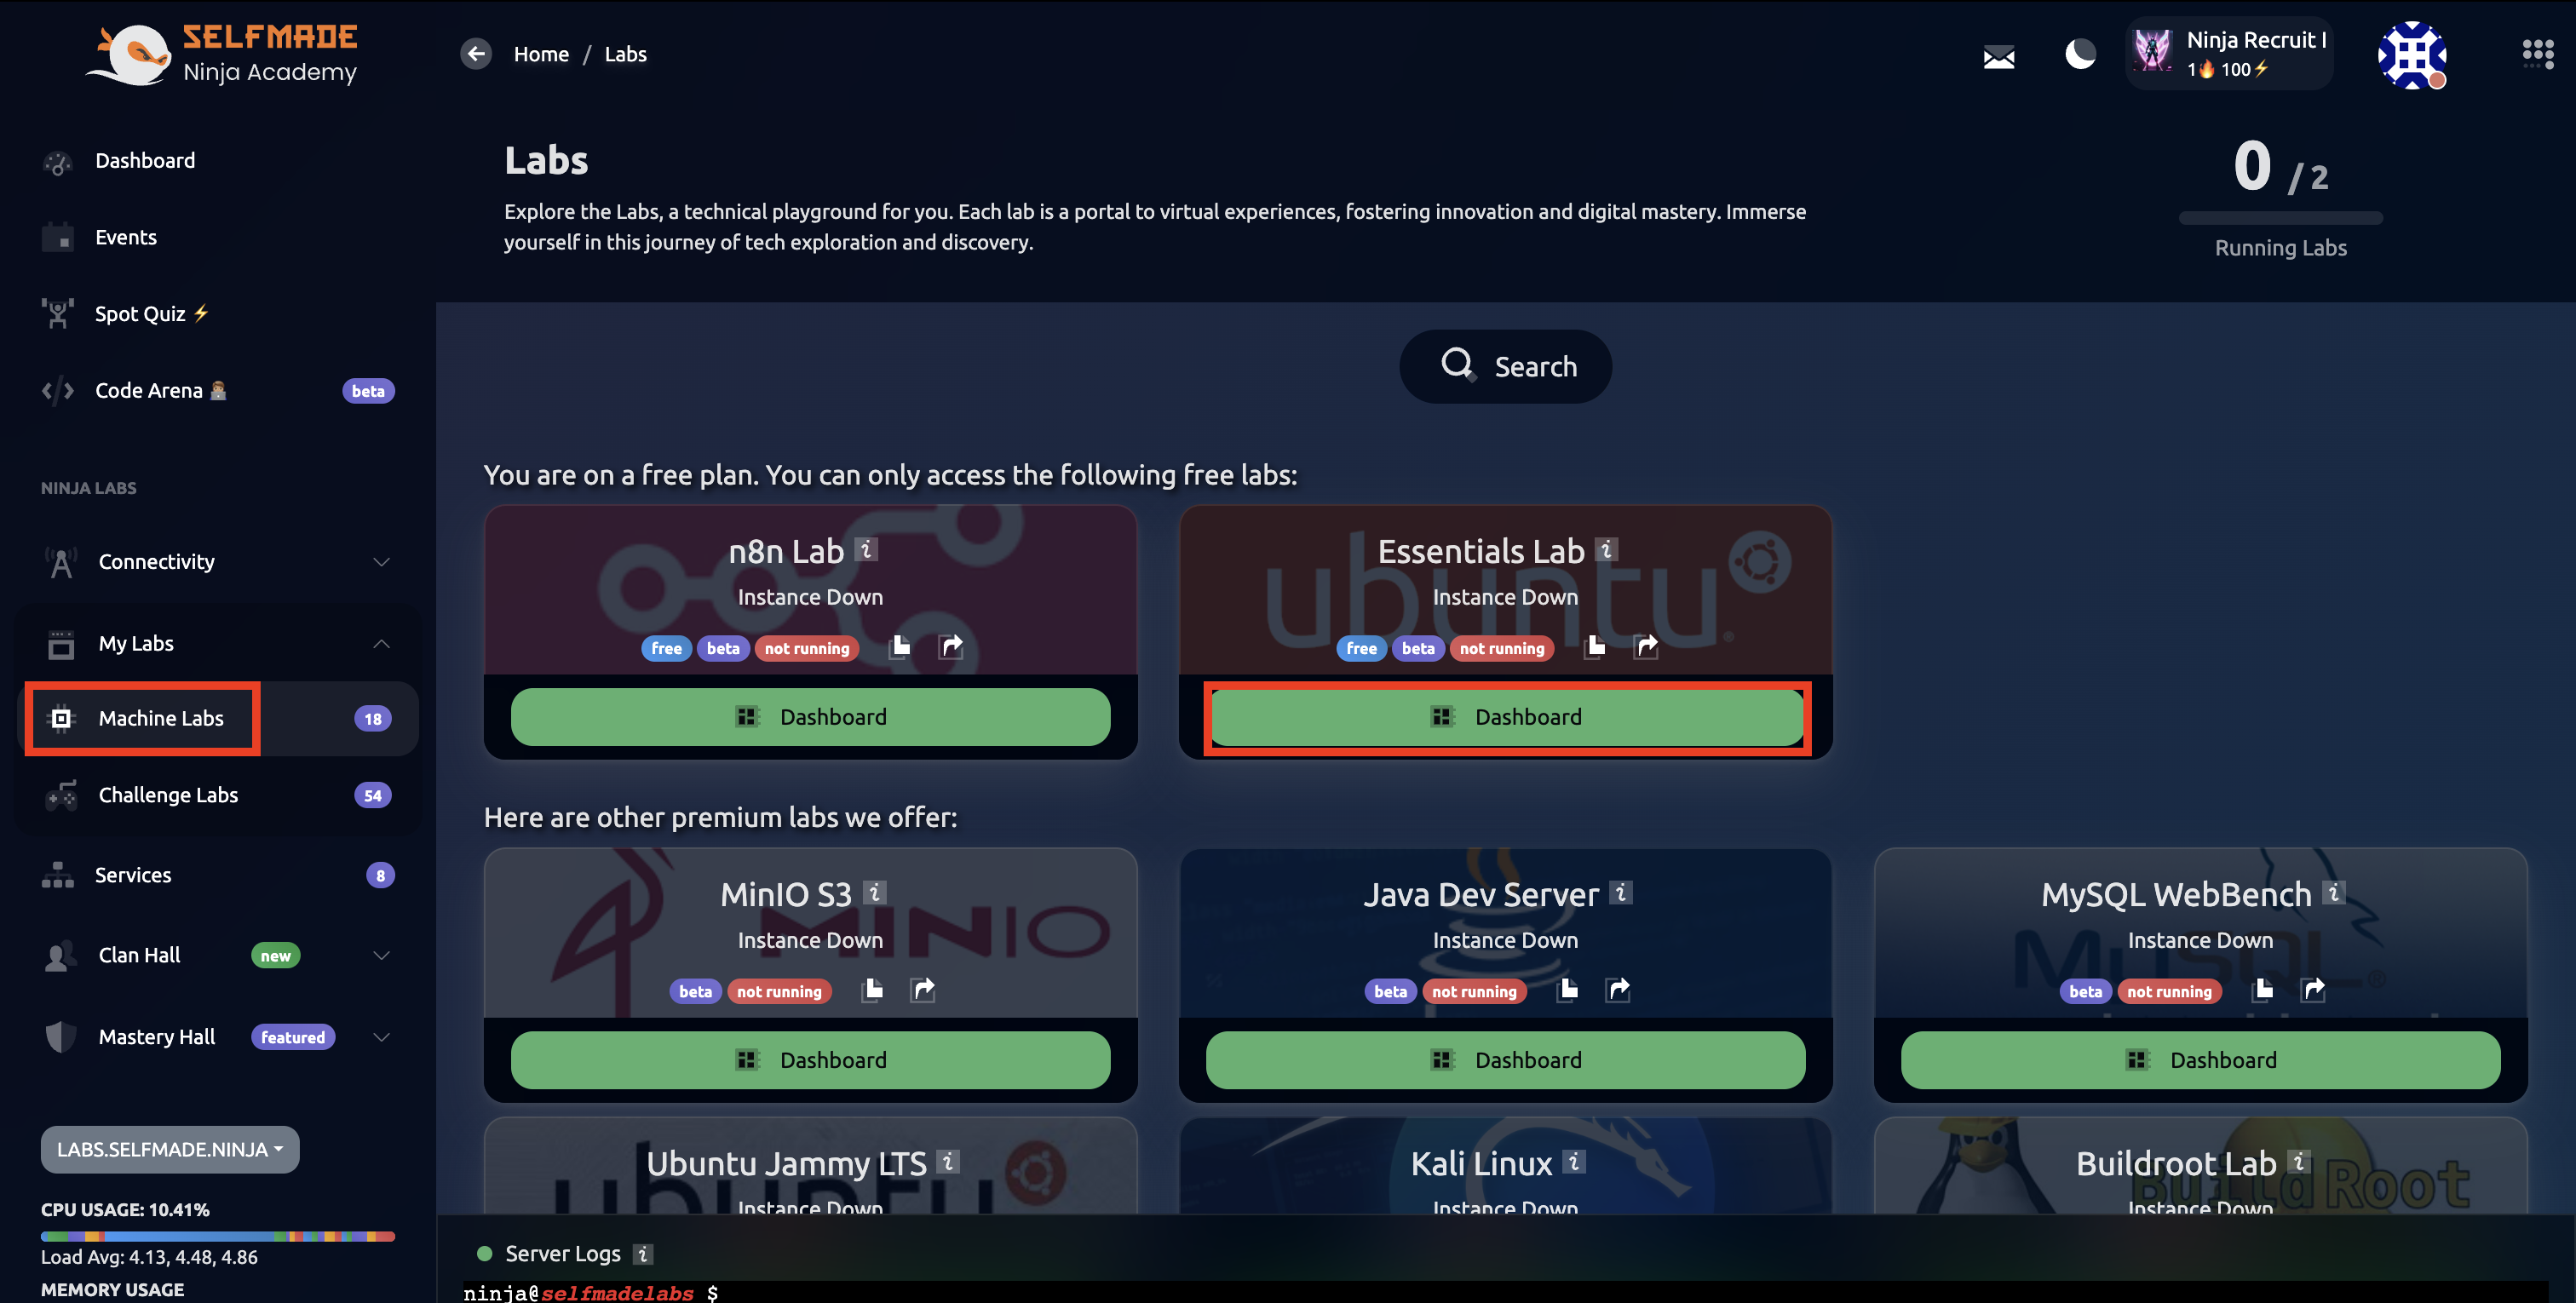
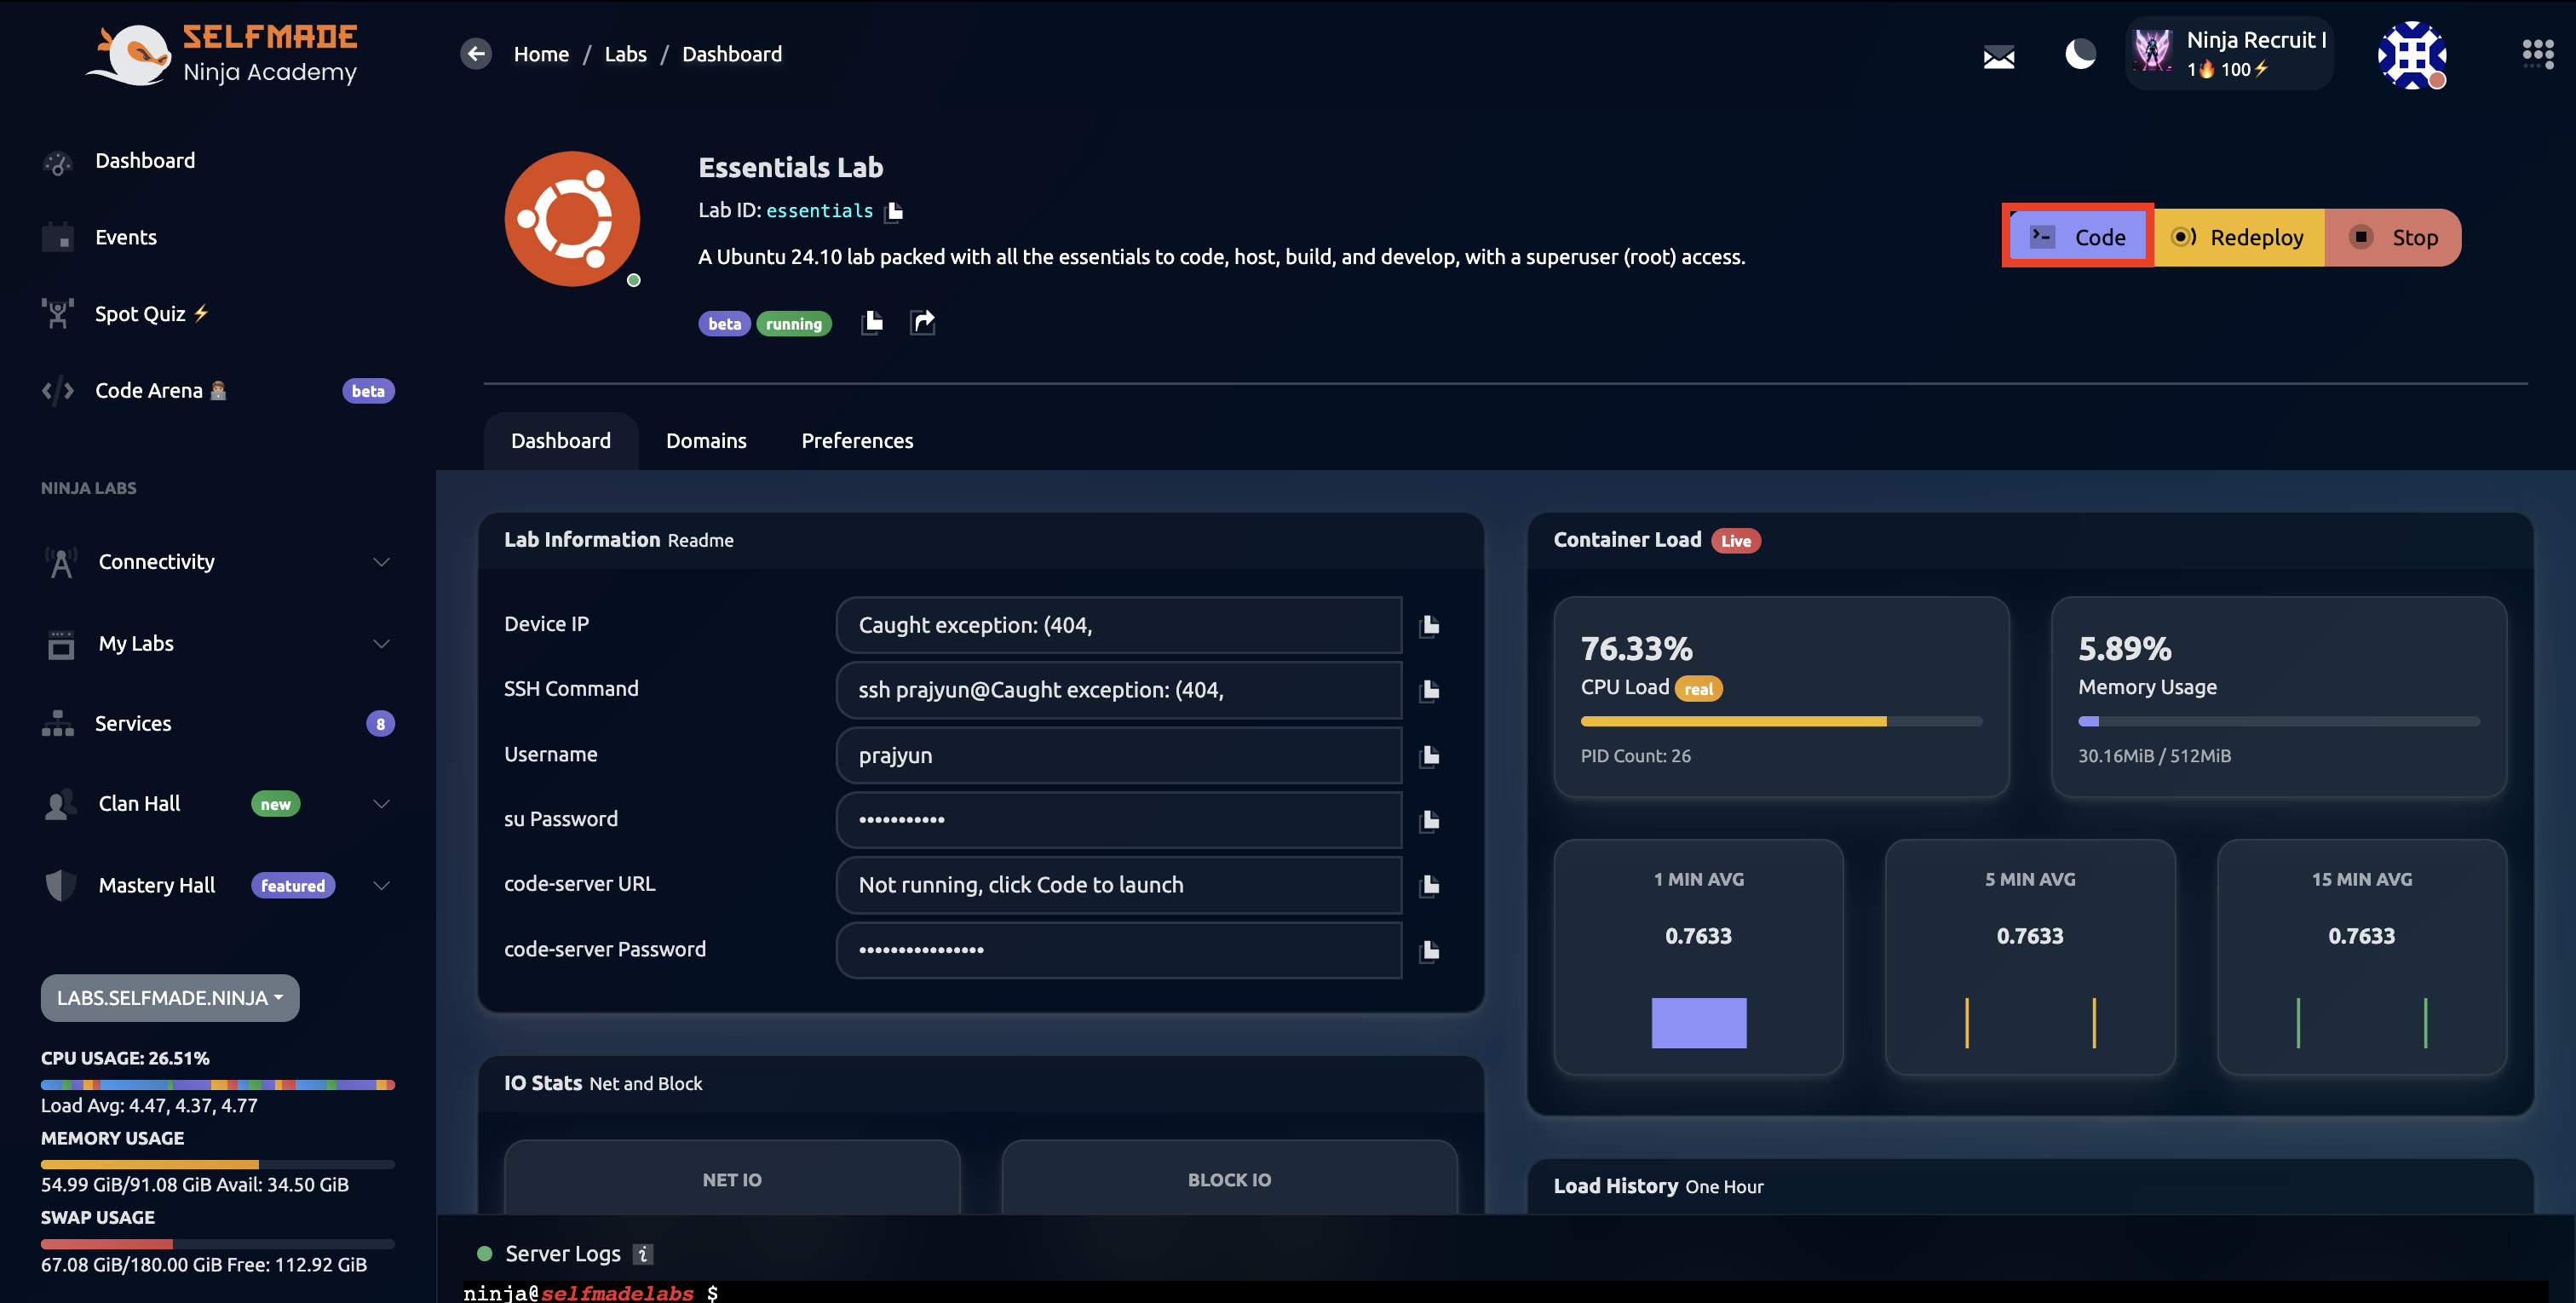
Now, we need to Deploy the Essentials lab.
Once you deploy, click on the Code button and then click on Launch Code IDE to open the VS Code editor in another tab.
MongoDB Extension Setup
Install MongoDB Extension
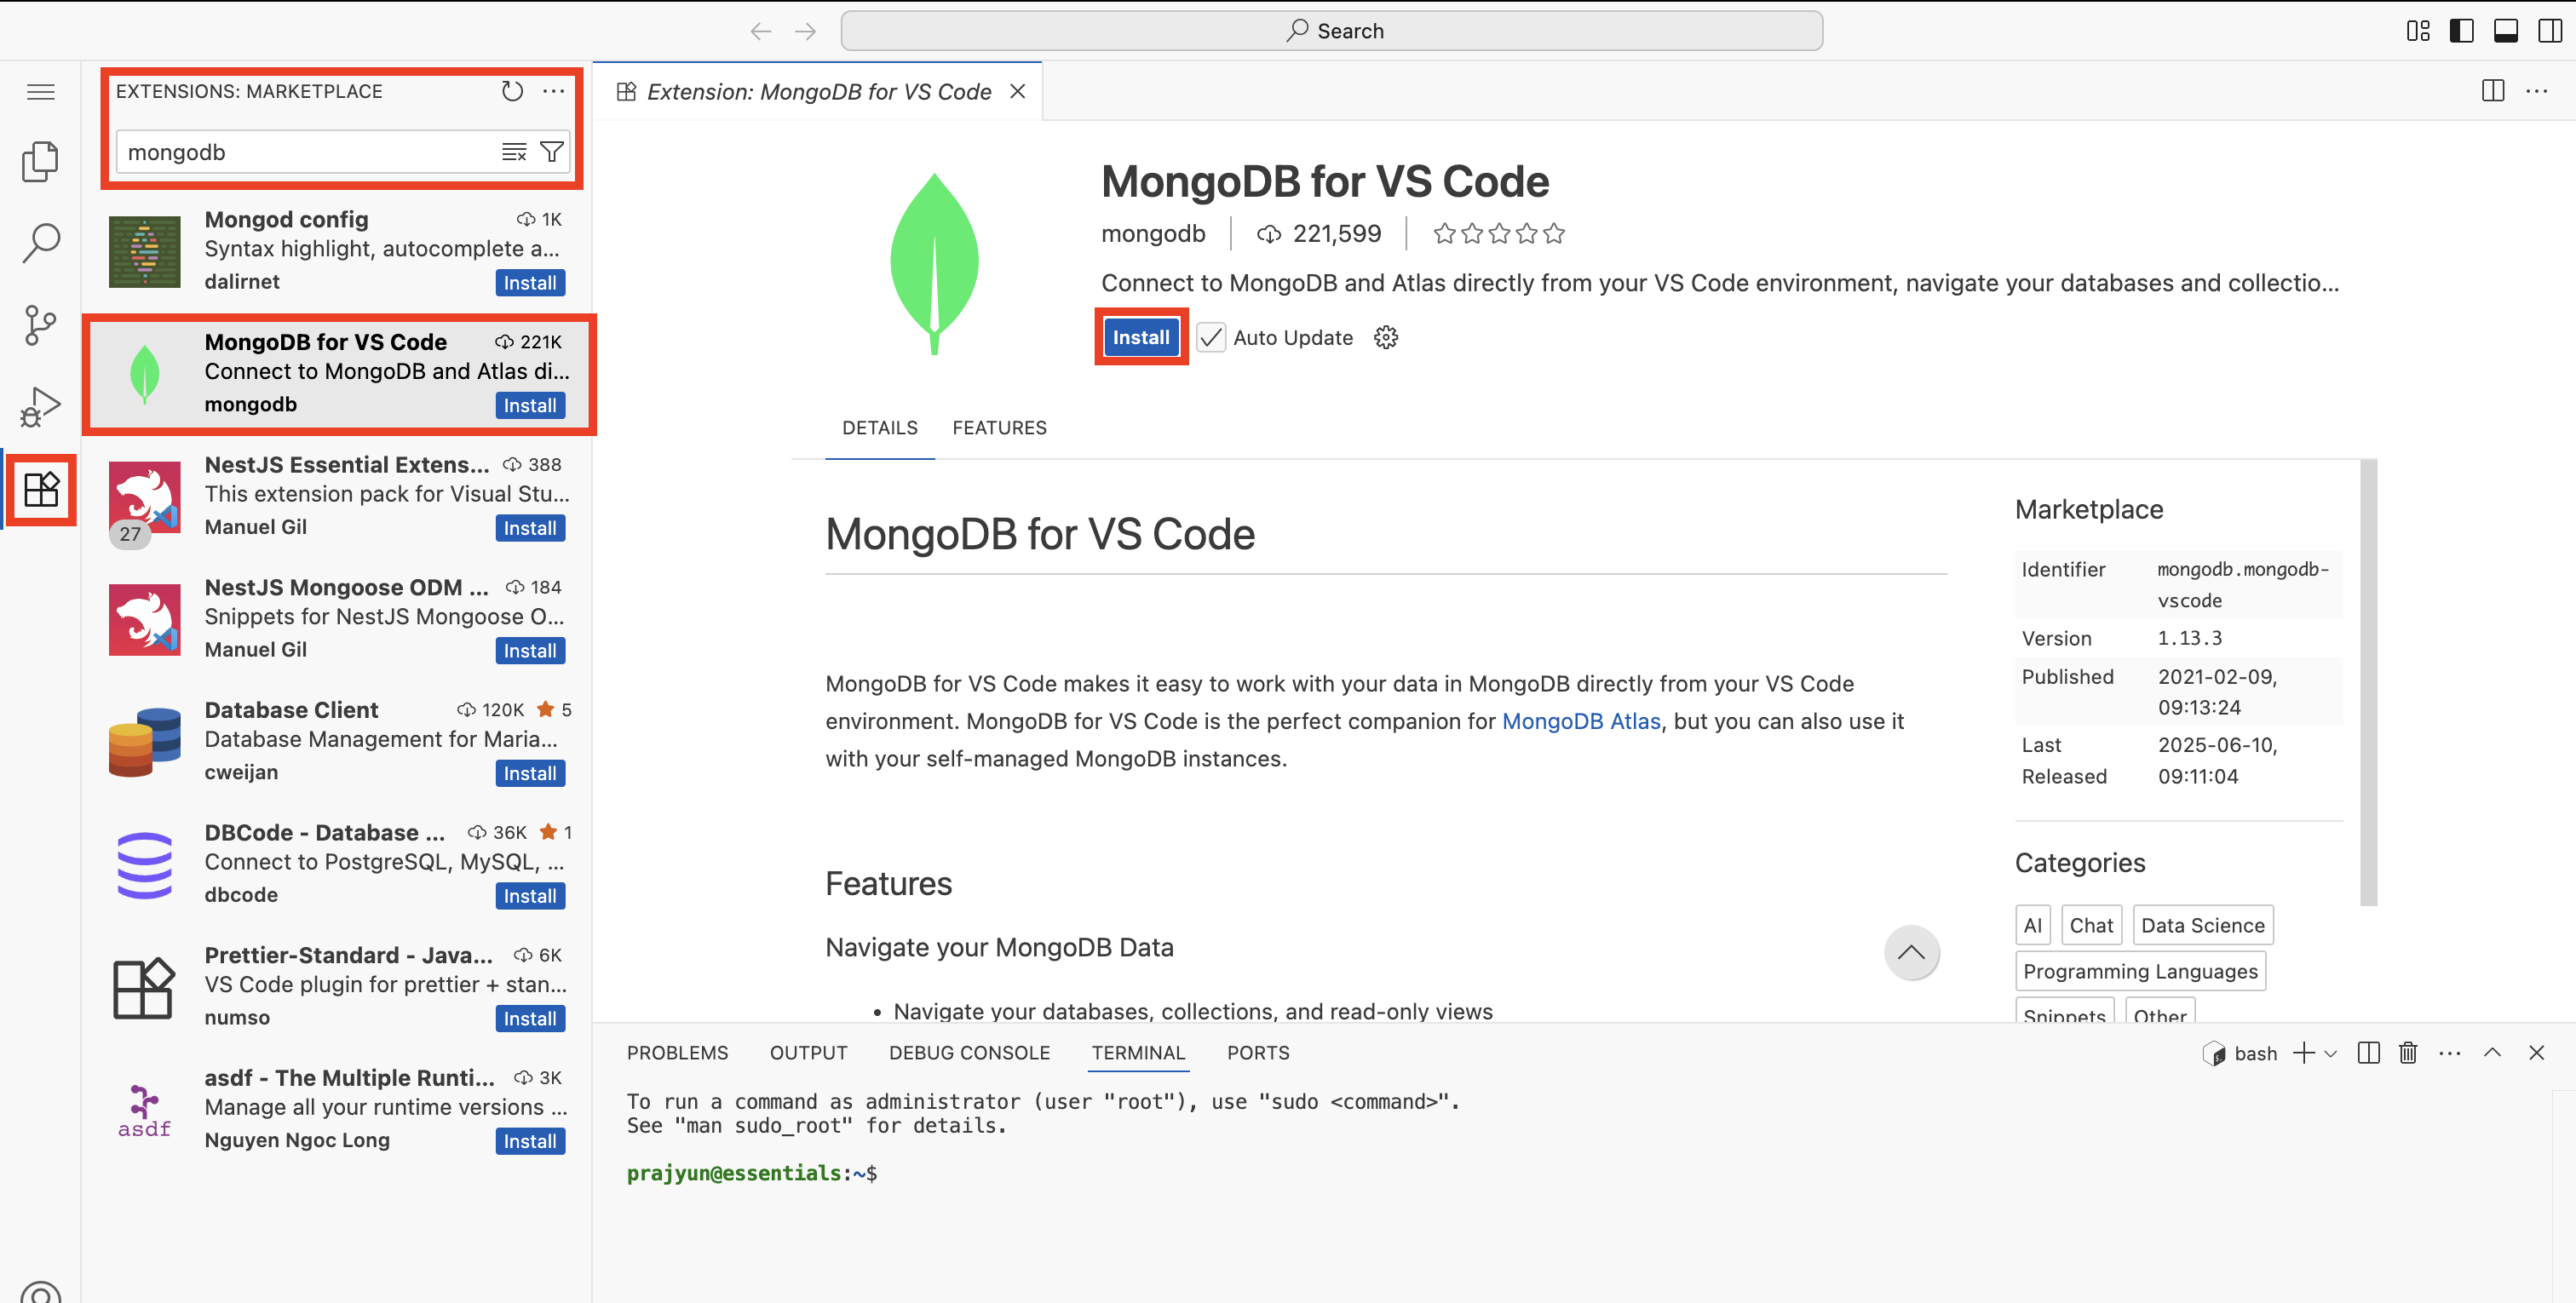
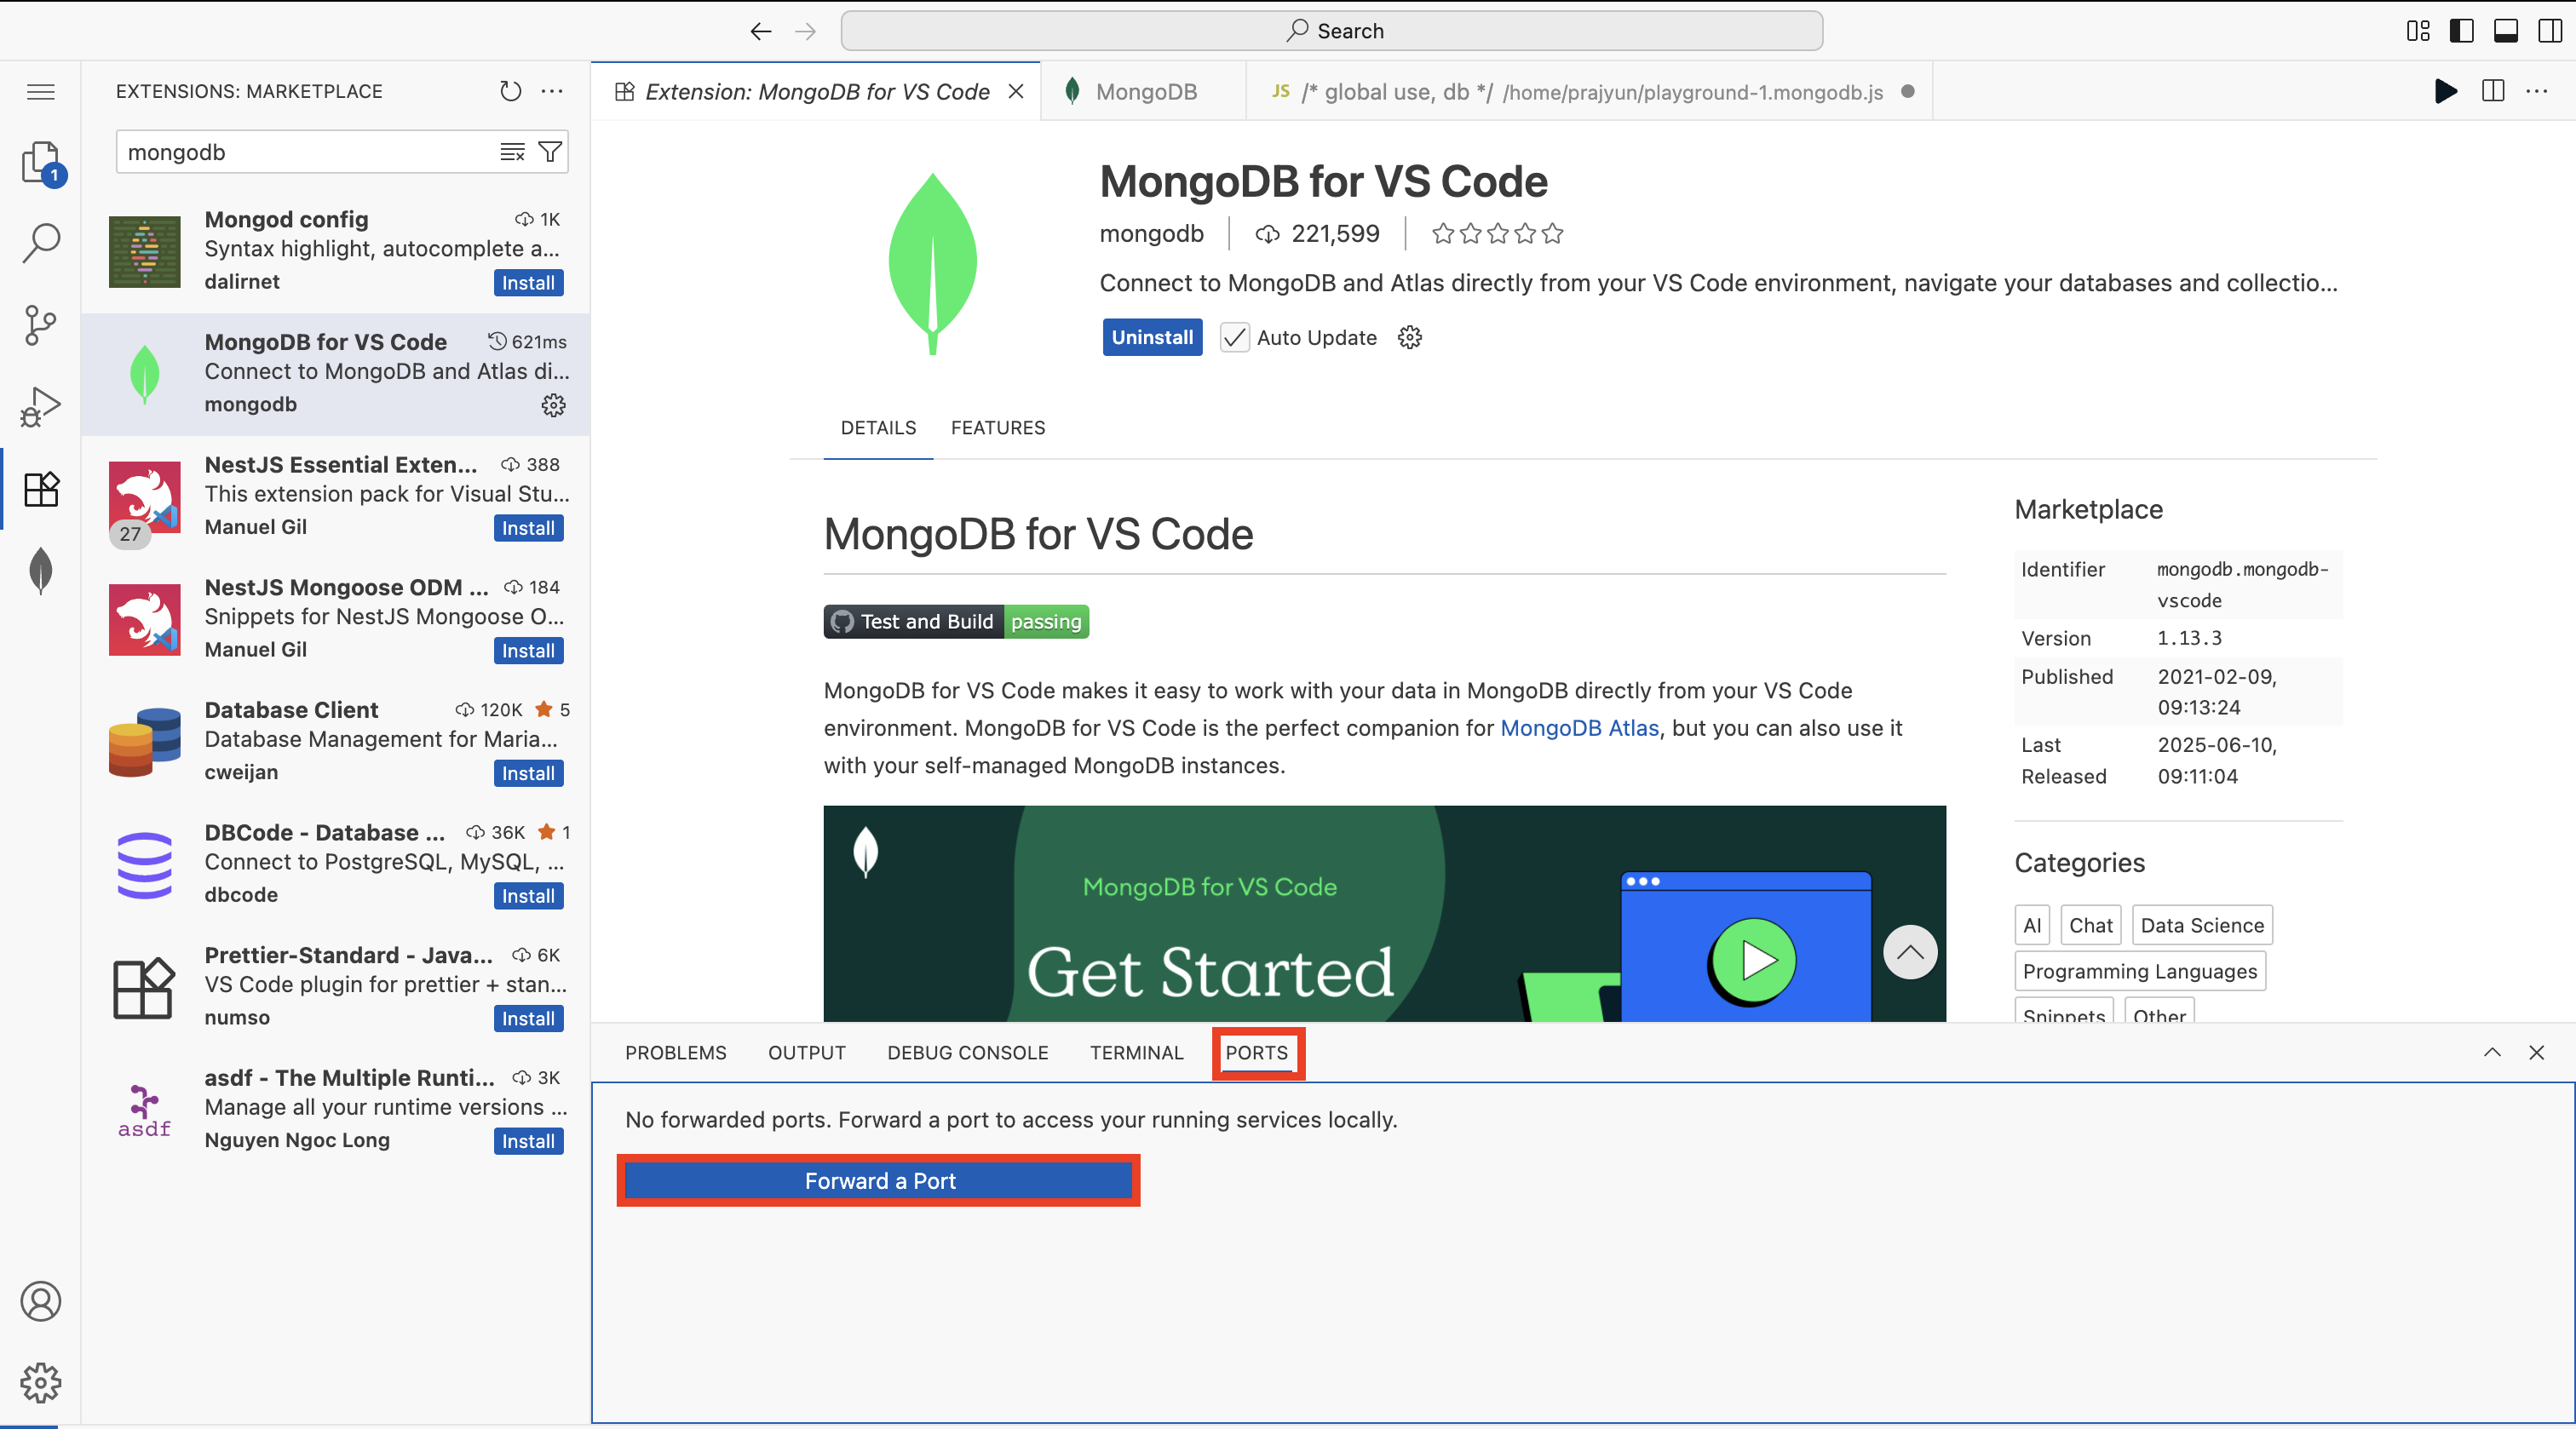
Once the VS Code editor opens in the new tab, look for the Extensions button on the left window pane and then click on it. Once done, in the search bar, search for MongoDB and then find the extension that is published by MongoDB itself and then click on Install.
If a popup appears asking you to trust the publisher, please click on Trust Publisher and Install.
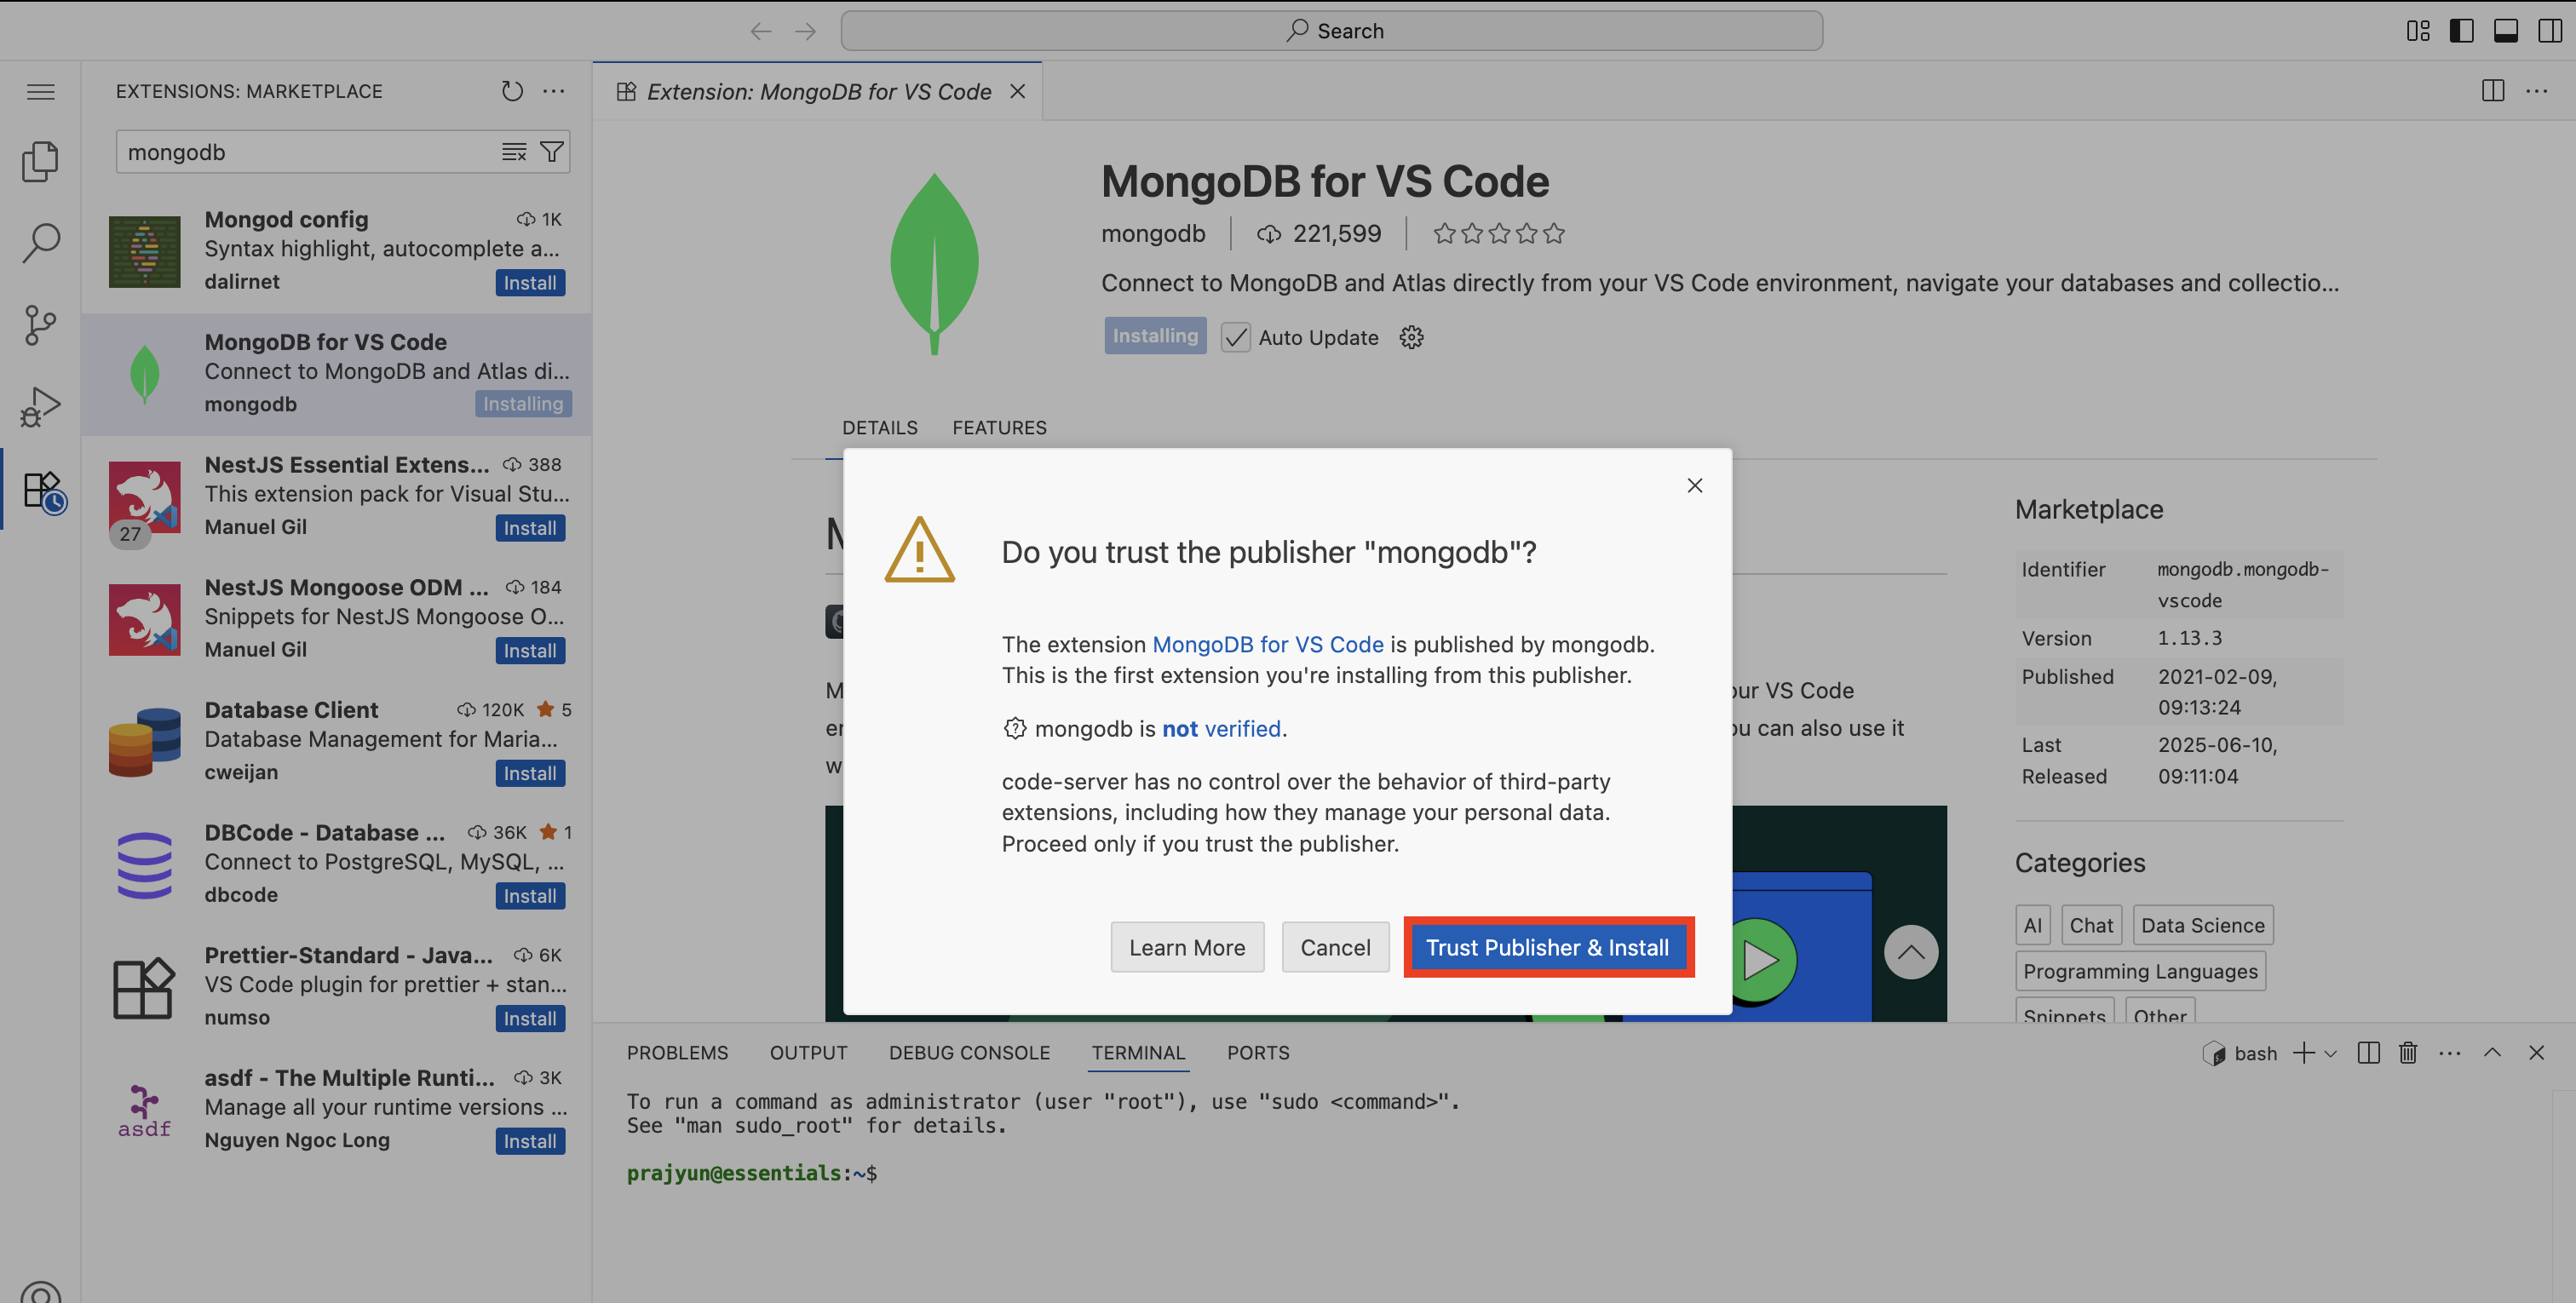
Once this is done, you would've successfully installed MongoDB extension in your VS Code editor.
Connecting to MongoDB
Establish Connection
Now, click on the Connect button under Connection String.
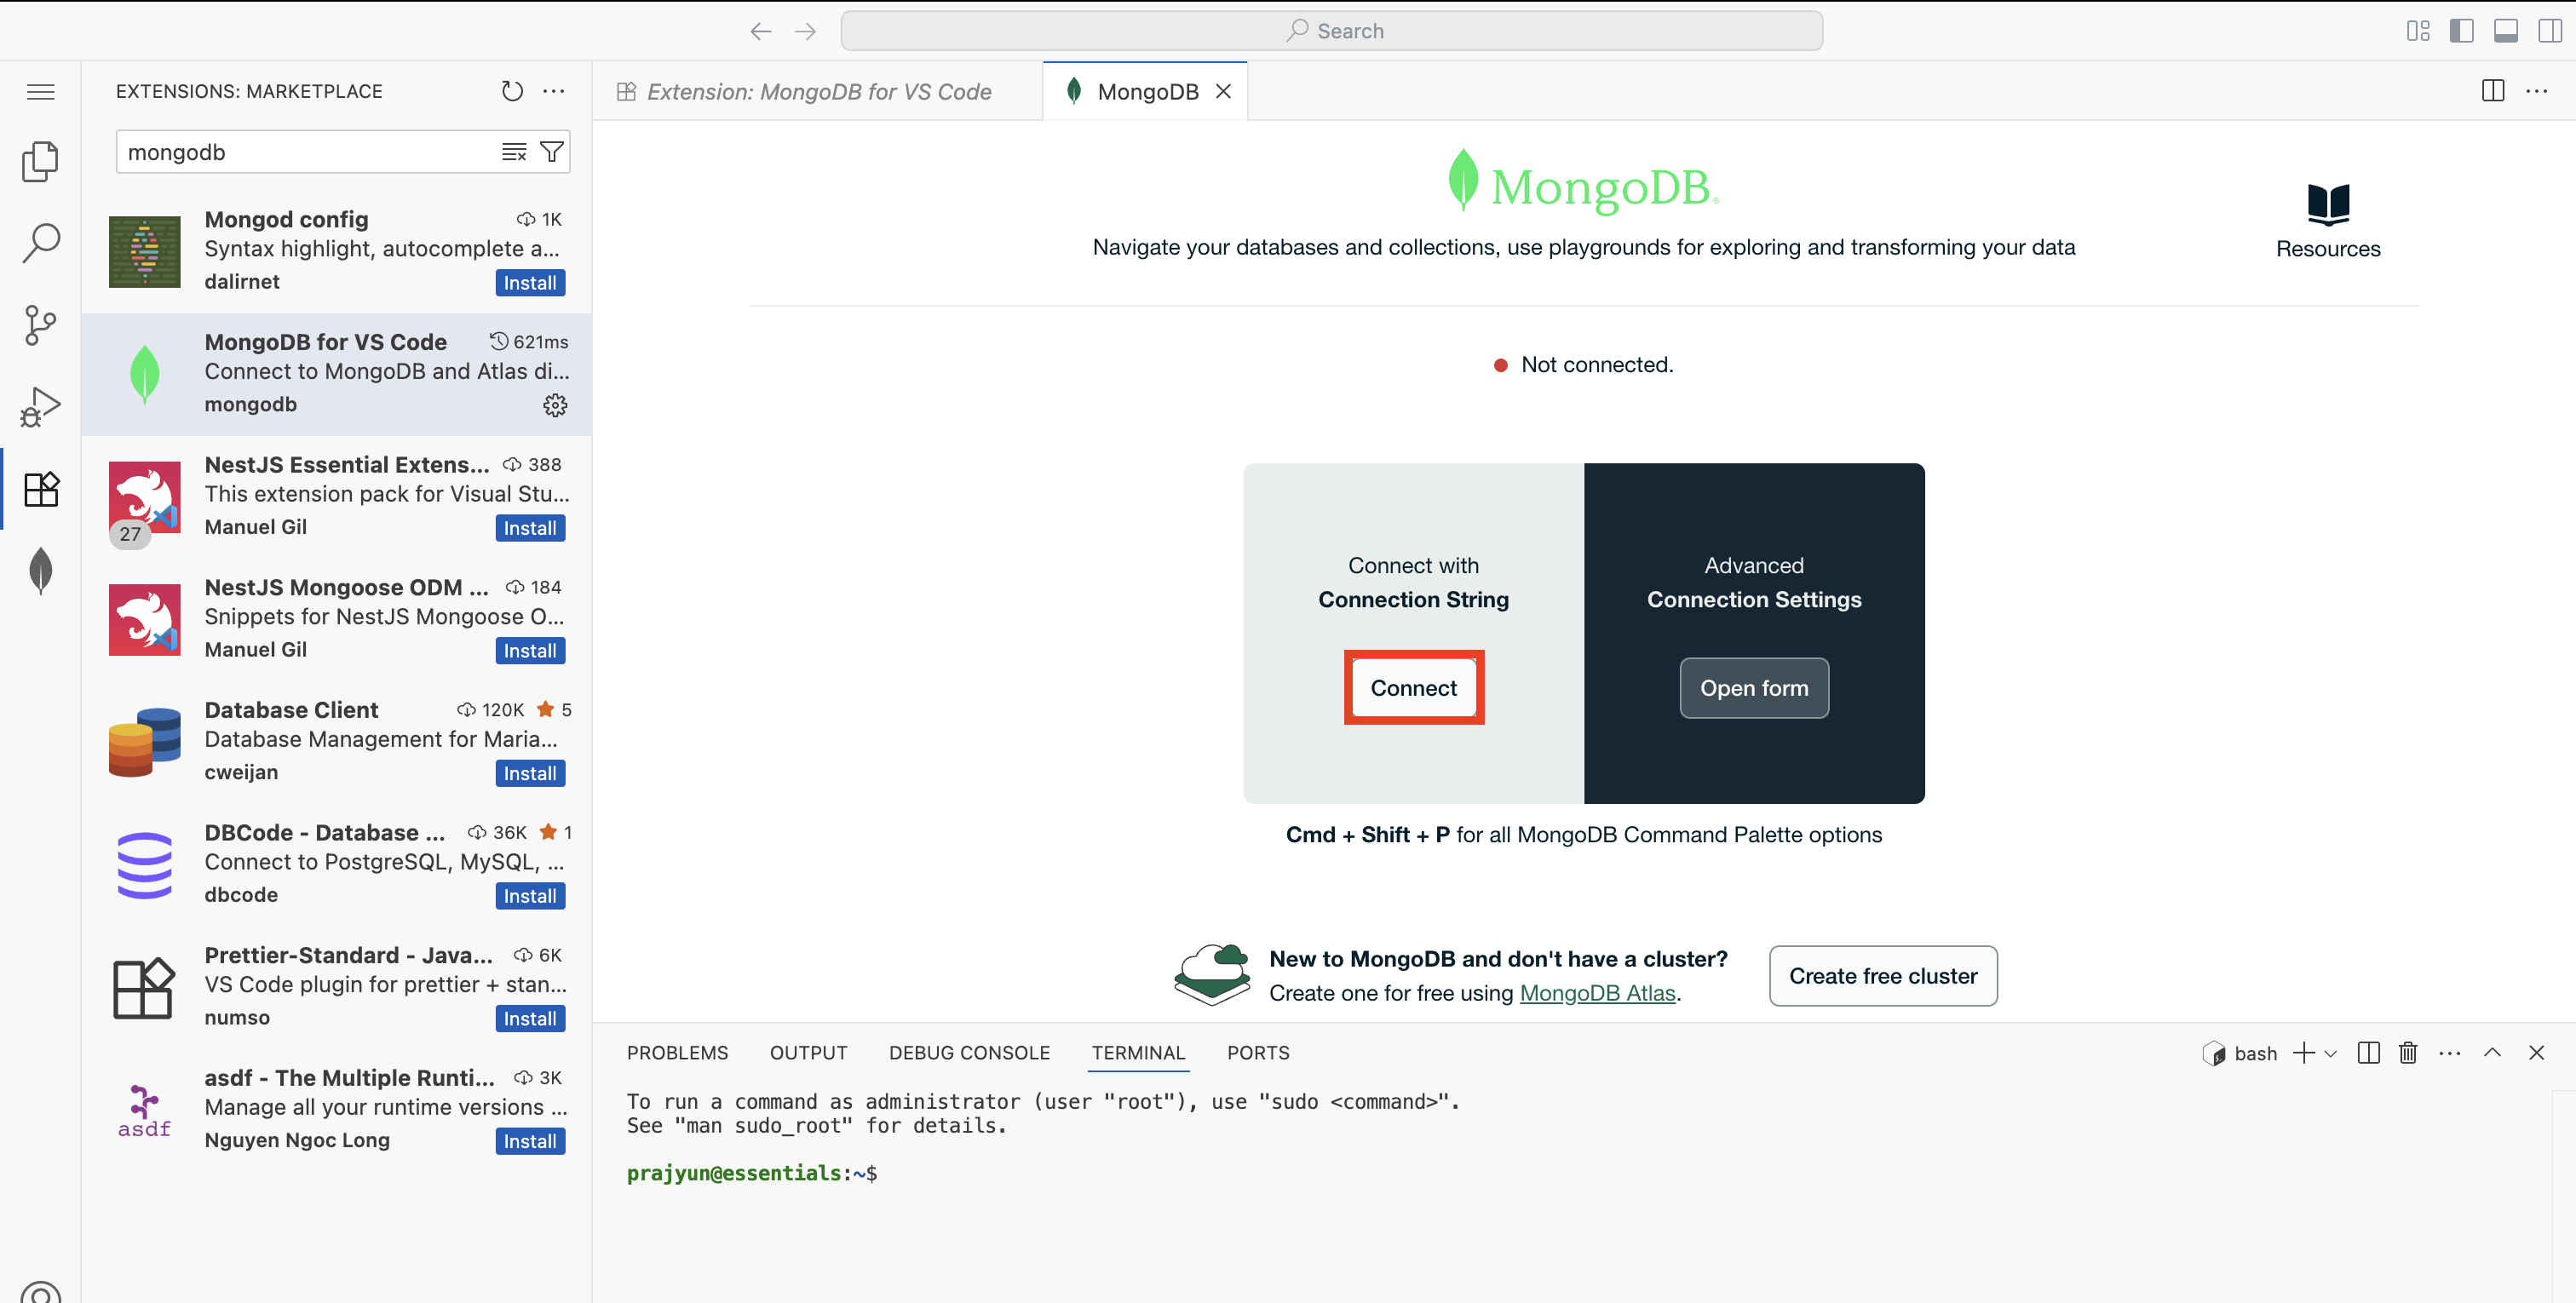
A popup command box will appear at the top asking you to enter the connection string, copy the connection string from the MongoDB user and then paste it in the box and hit enter.
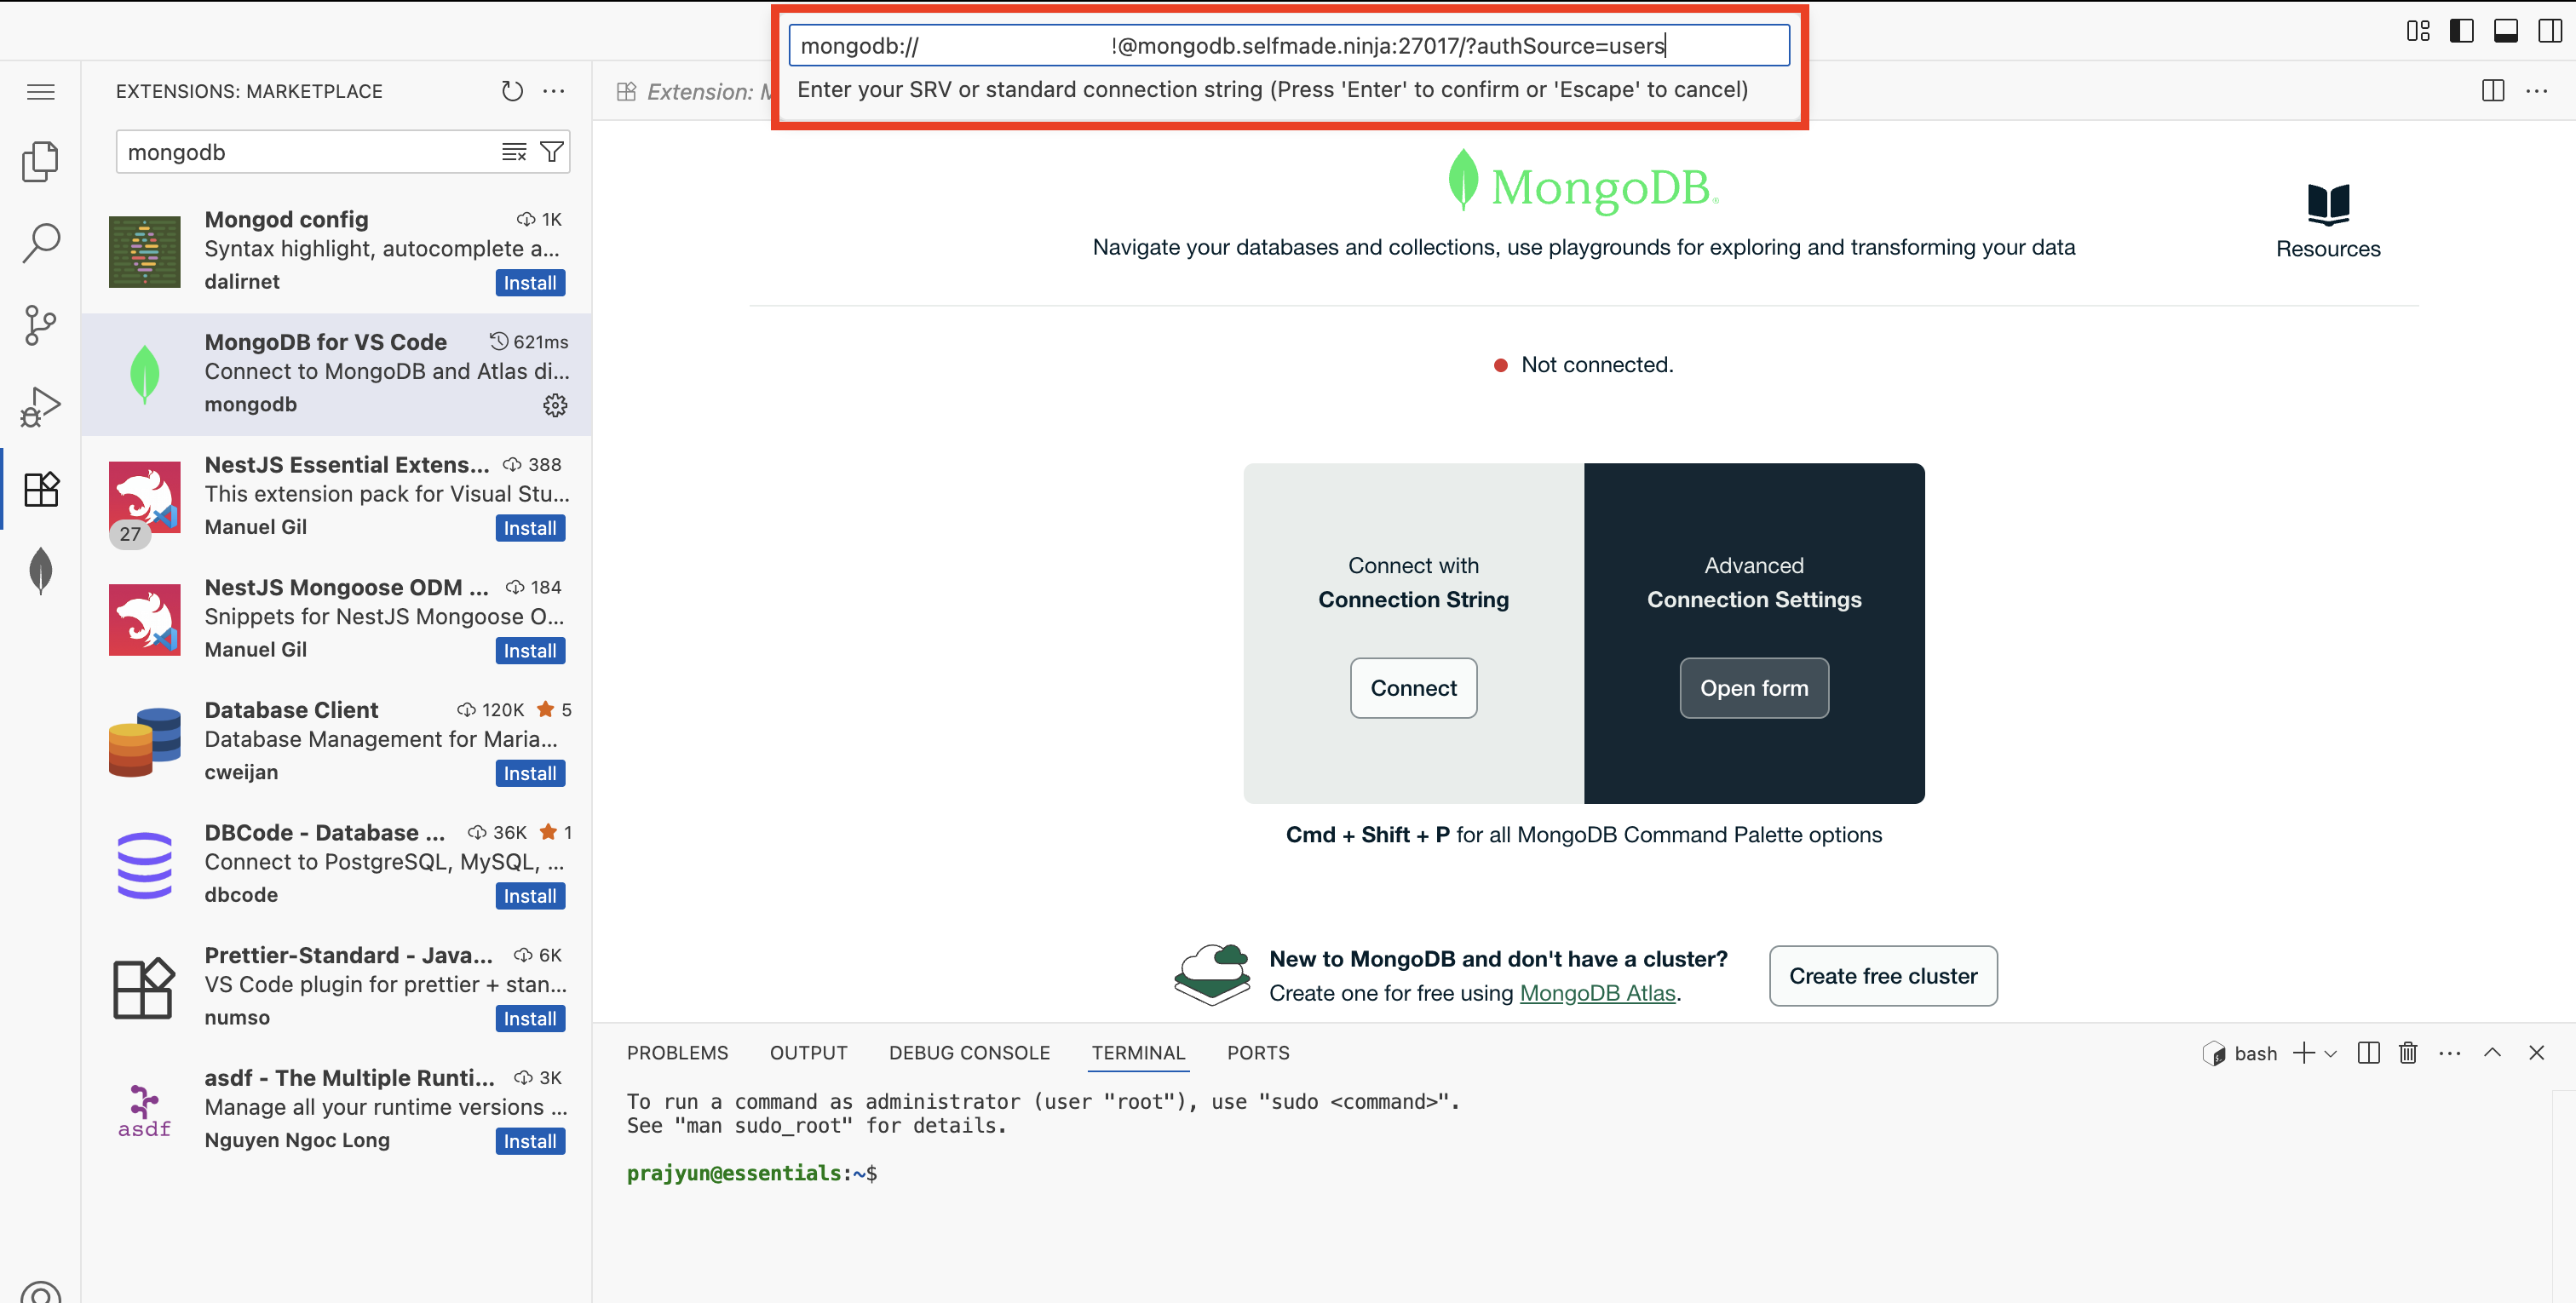
Once you hit enter, you will see that the MongoDB service is connected to your server and a Create Playground button will appear, click on it.
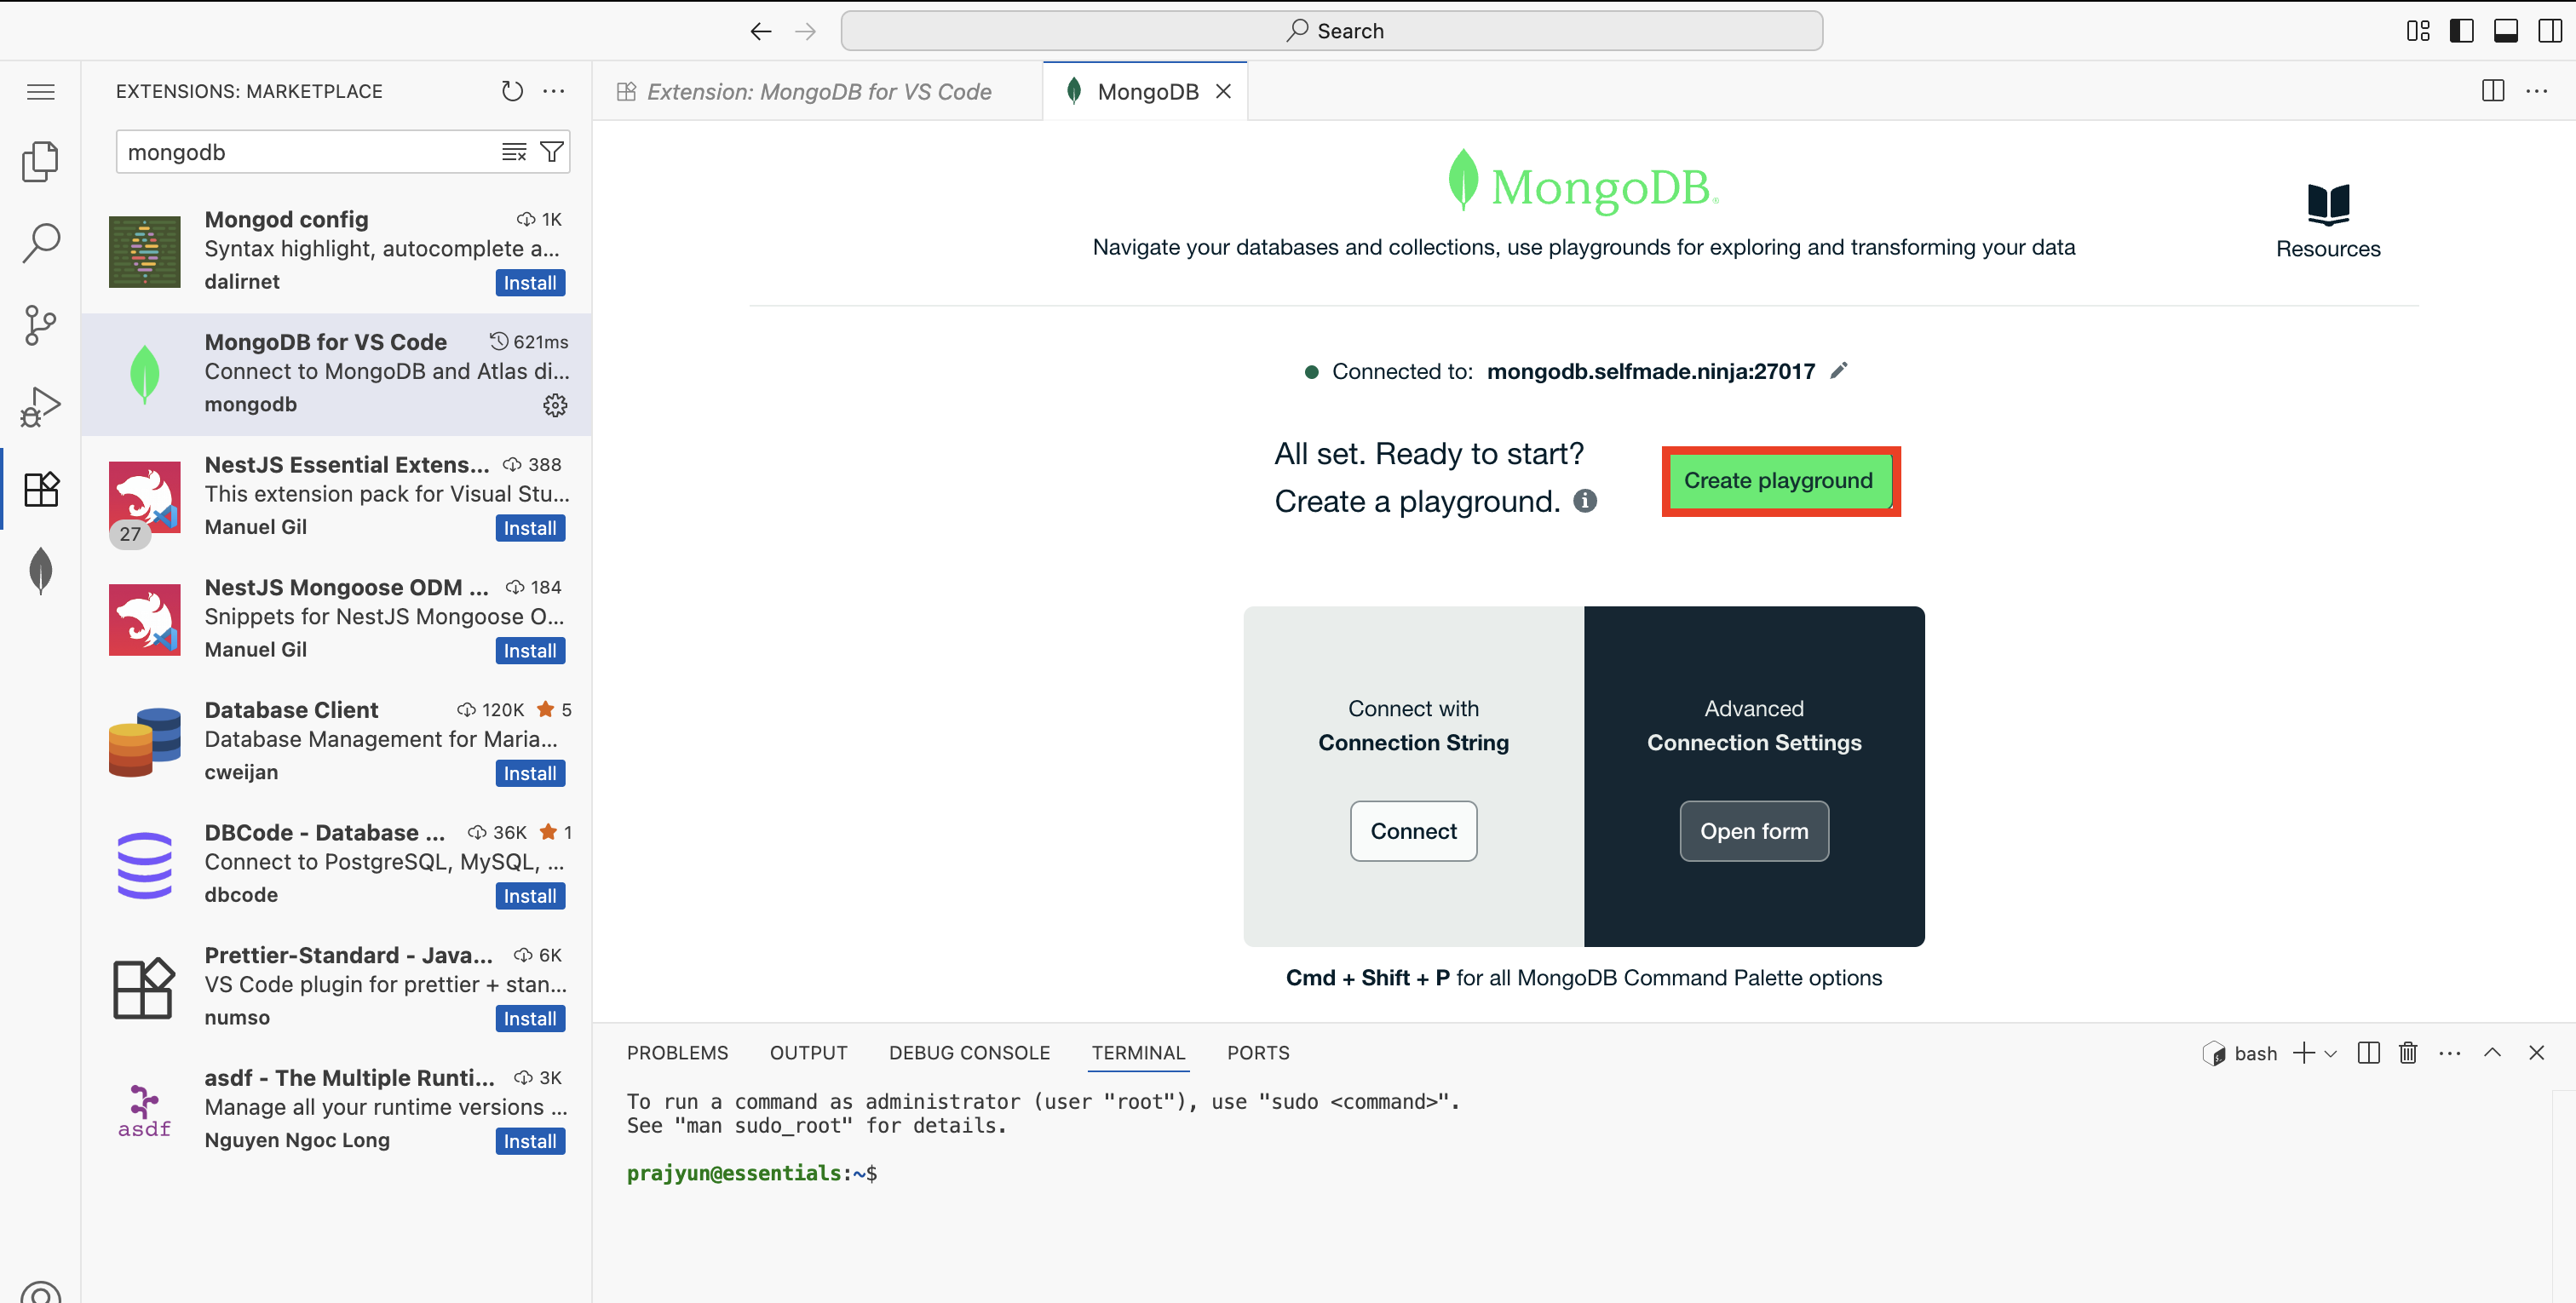
The playground provides an interactive environment to write and execute MongoDB queries directly in VS Code.
Working with MongoDB
Start Development
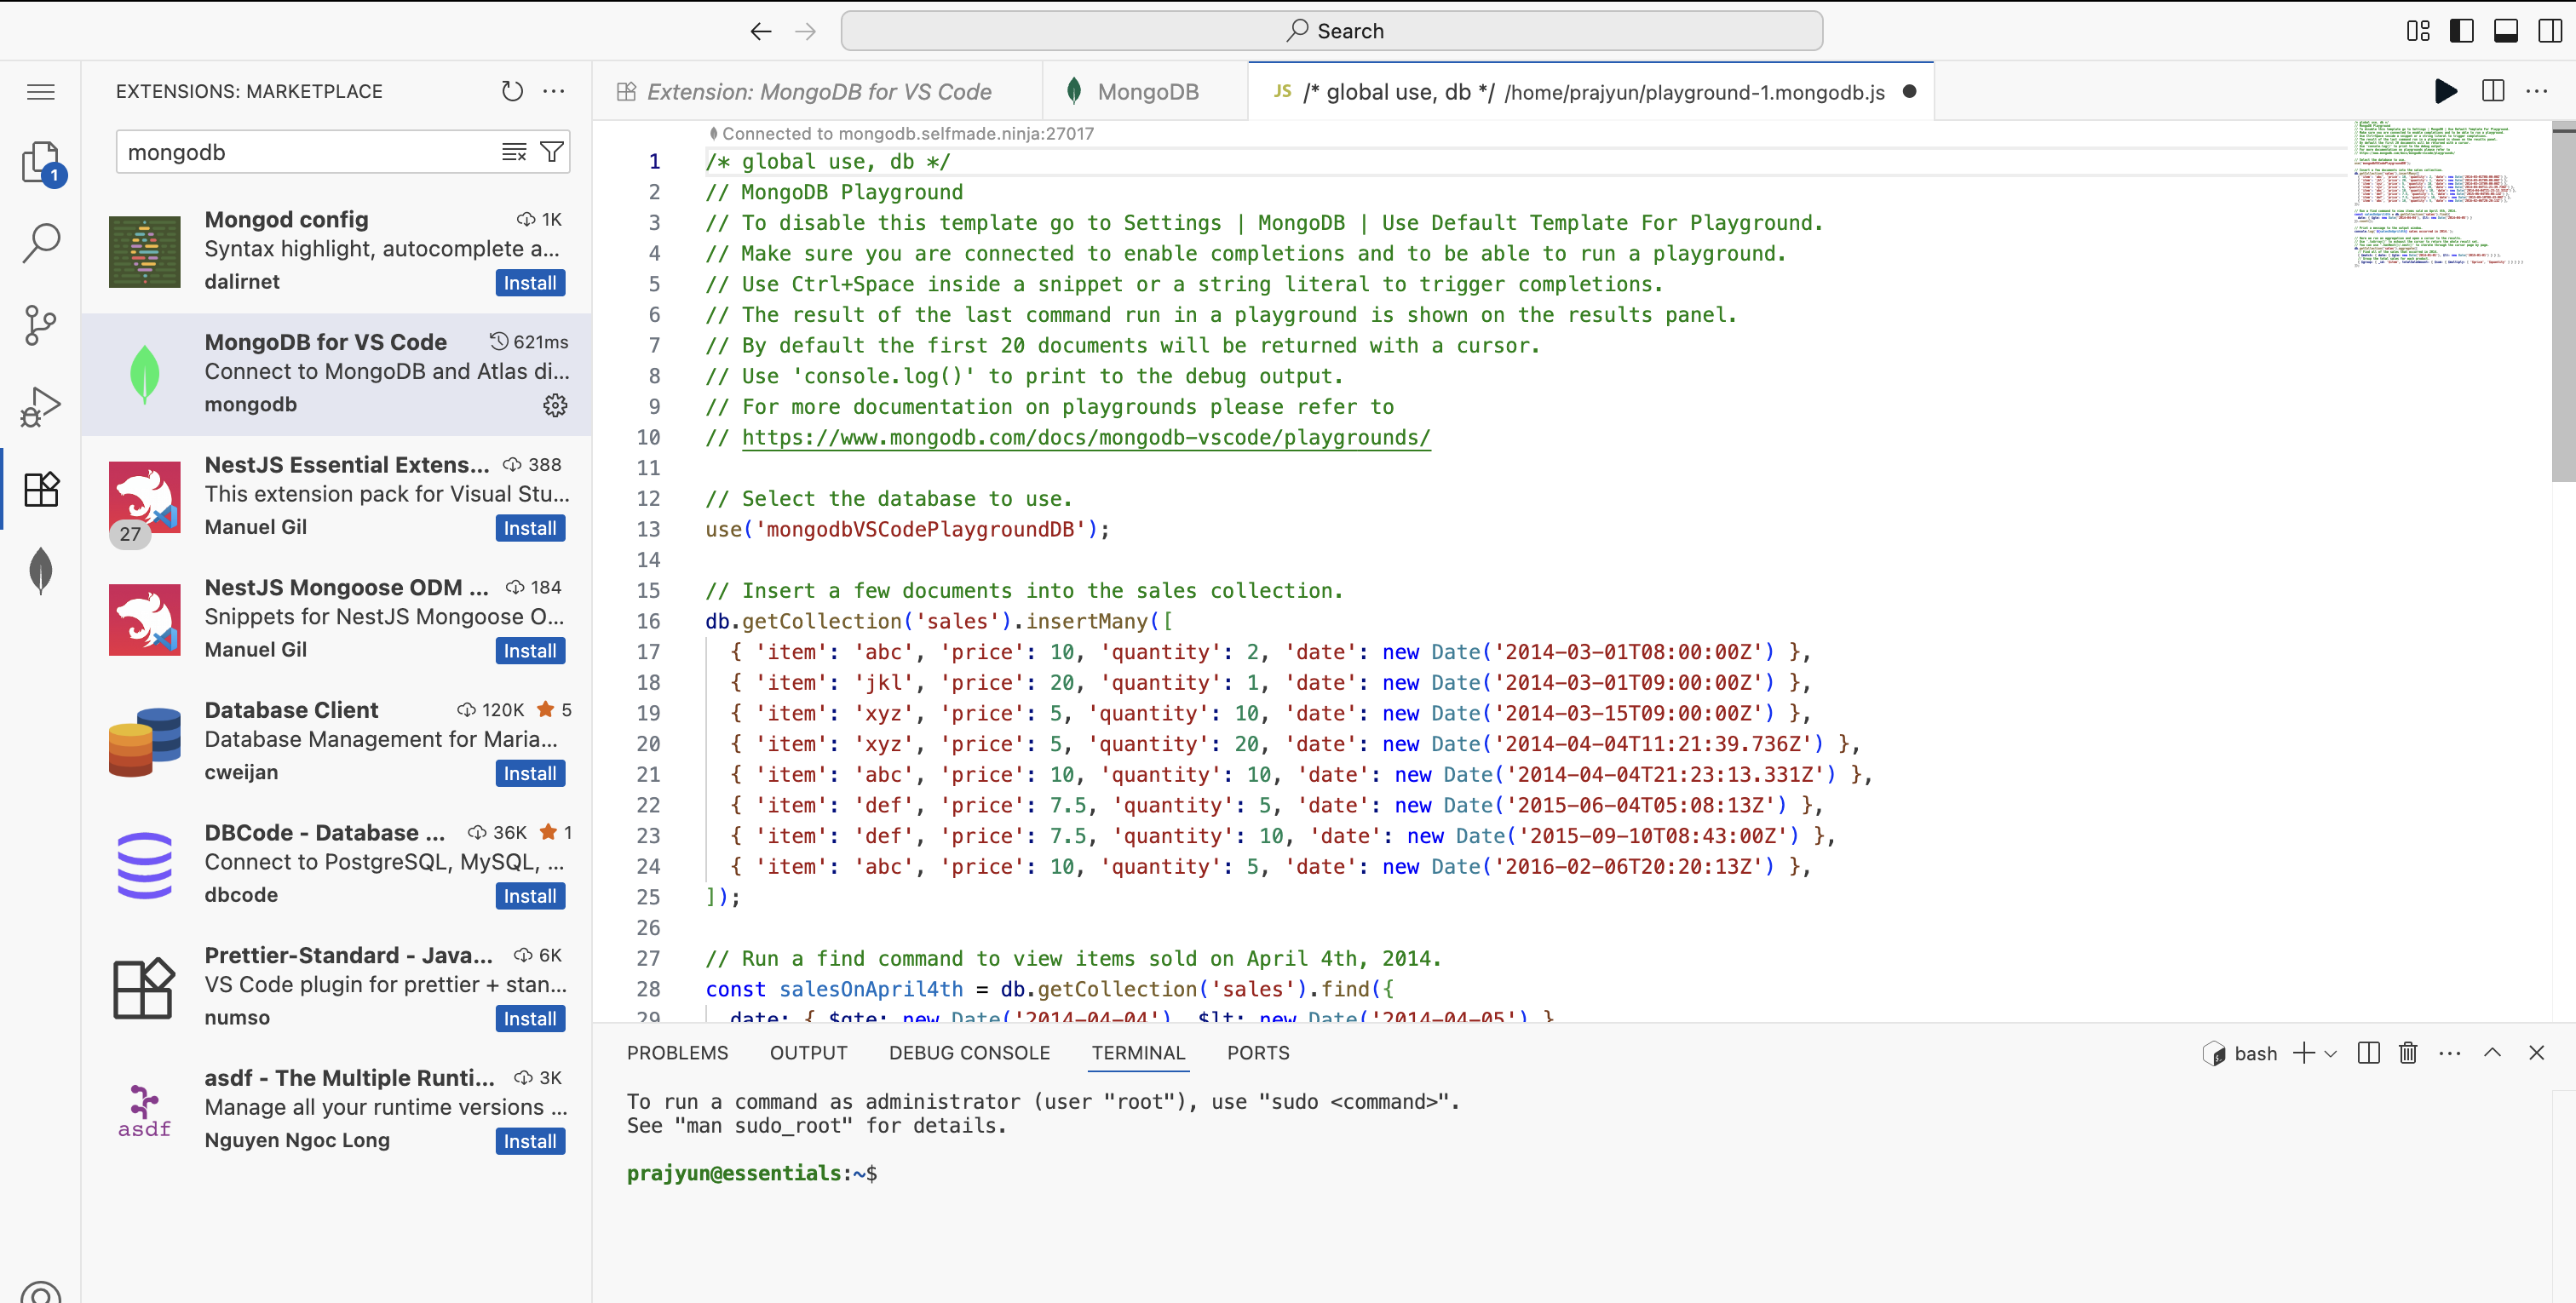
Once you create a playground, an editor will open up where you can start playing around with the service.
Premium Feature: Port Forwarding
If you are a premium user, there here is a trick.
Instead of using a connection string to connect with the instance, you can simply achieve this through Port Forwarding. In the VS Code editor Terminal, click on the Port button and then click on Forward a Port
Port forwarding provides a more direct connection method for premium users, offering enhanced performance and flexibility.
What You Can Do
| Feature | Description |
|---|---|
| Document Operations | Create, read, update, and delete documents |
| Collection Management | Organize data into collections |
| Query Development | Write complex queries using MongoDB syntax |
| Index Optimization | Improve query performance with proper indexing |
- Use proper document structure for your use case
- Implement appropriate indexing strategies
- Follow MongoDB naming conventions
- Test queries in the playground before production use